WEEK 2
During the first group assignment in week 2, my group got to try out the following tinkering kits:
1. The LittleBits audio synthesis kit
Definitely my favorite. We initialy had some issues setting up the (potentially a little faulty) components, but we did manage to make some sound after a while. The magnetic snapping was great for quickly trying and switching out parts, and the knobs and buttons were very inviting for hands-on experimentation.
2. The Arduino Grove Kit
We struggled with this one. Perhaps reading the manual would have gotten us going quicker, but the kit was not very intuitive to just start trying things with, and even when we managed to get something to happen, it was not very clear why this would be the case.
3. A LEGO kit
Although I love LEGOs, this kit had images of specific projects all over it, which immediately caught our attention and made us grab the manual. This meant not much actual tinkering was happening as the outcome was 100% predetermined. Definitely fun though and would do it again.
4. The Cardboard Animatronics kit
This was really fun! The group got a bit bigger after the previous round and through suggestions of different people we quite quickly settled on building a rabbit and animate a stomping movement with its feet. Soon it became clear that the rabbit would most likely keep falling over if we moved the legs, so instead we settled on moving the ears. As most people were busy with creating the body and dressing it up, some members of the group decided to find a purpose for the 3rd (and last) motor. This ended up turning into a rotating hat movement.
TINKSTRUMENT

I was a part of group 10, together with Daniela, Maelle and Nikoo.
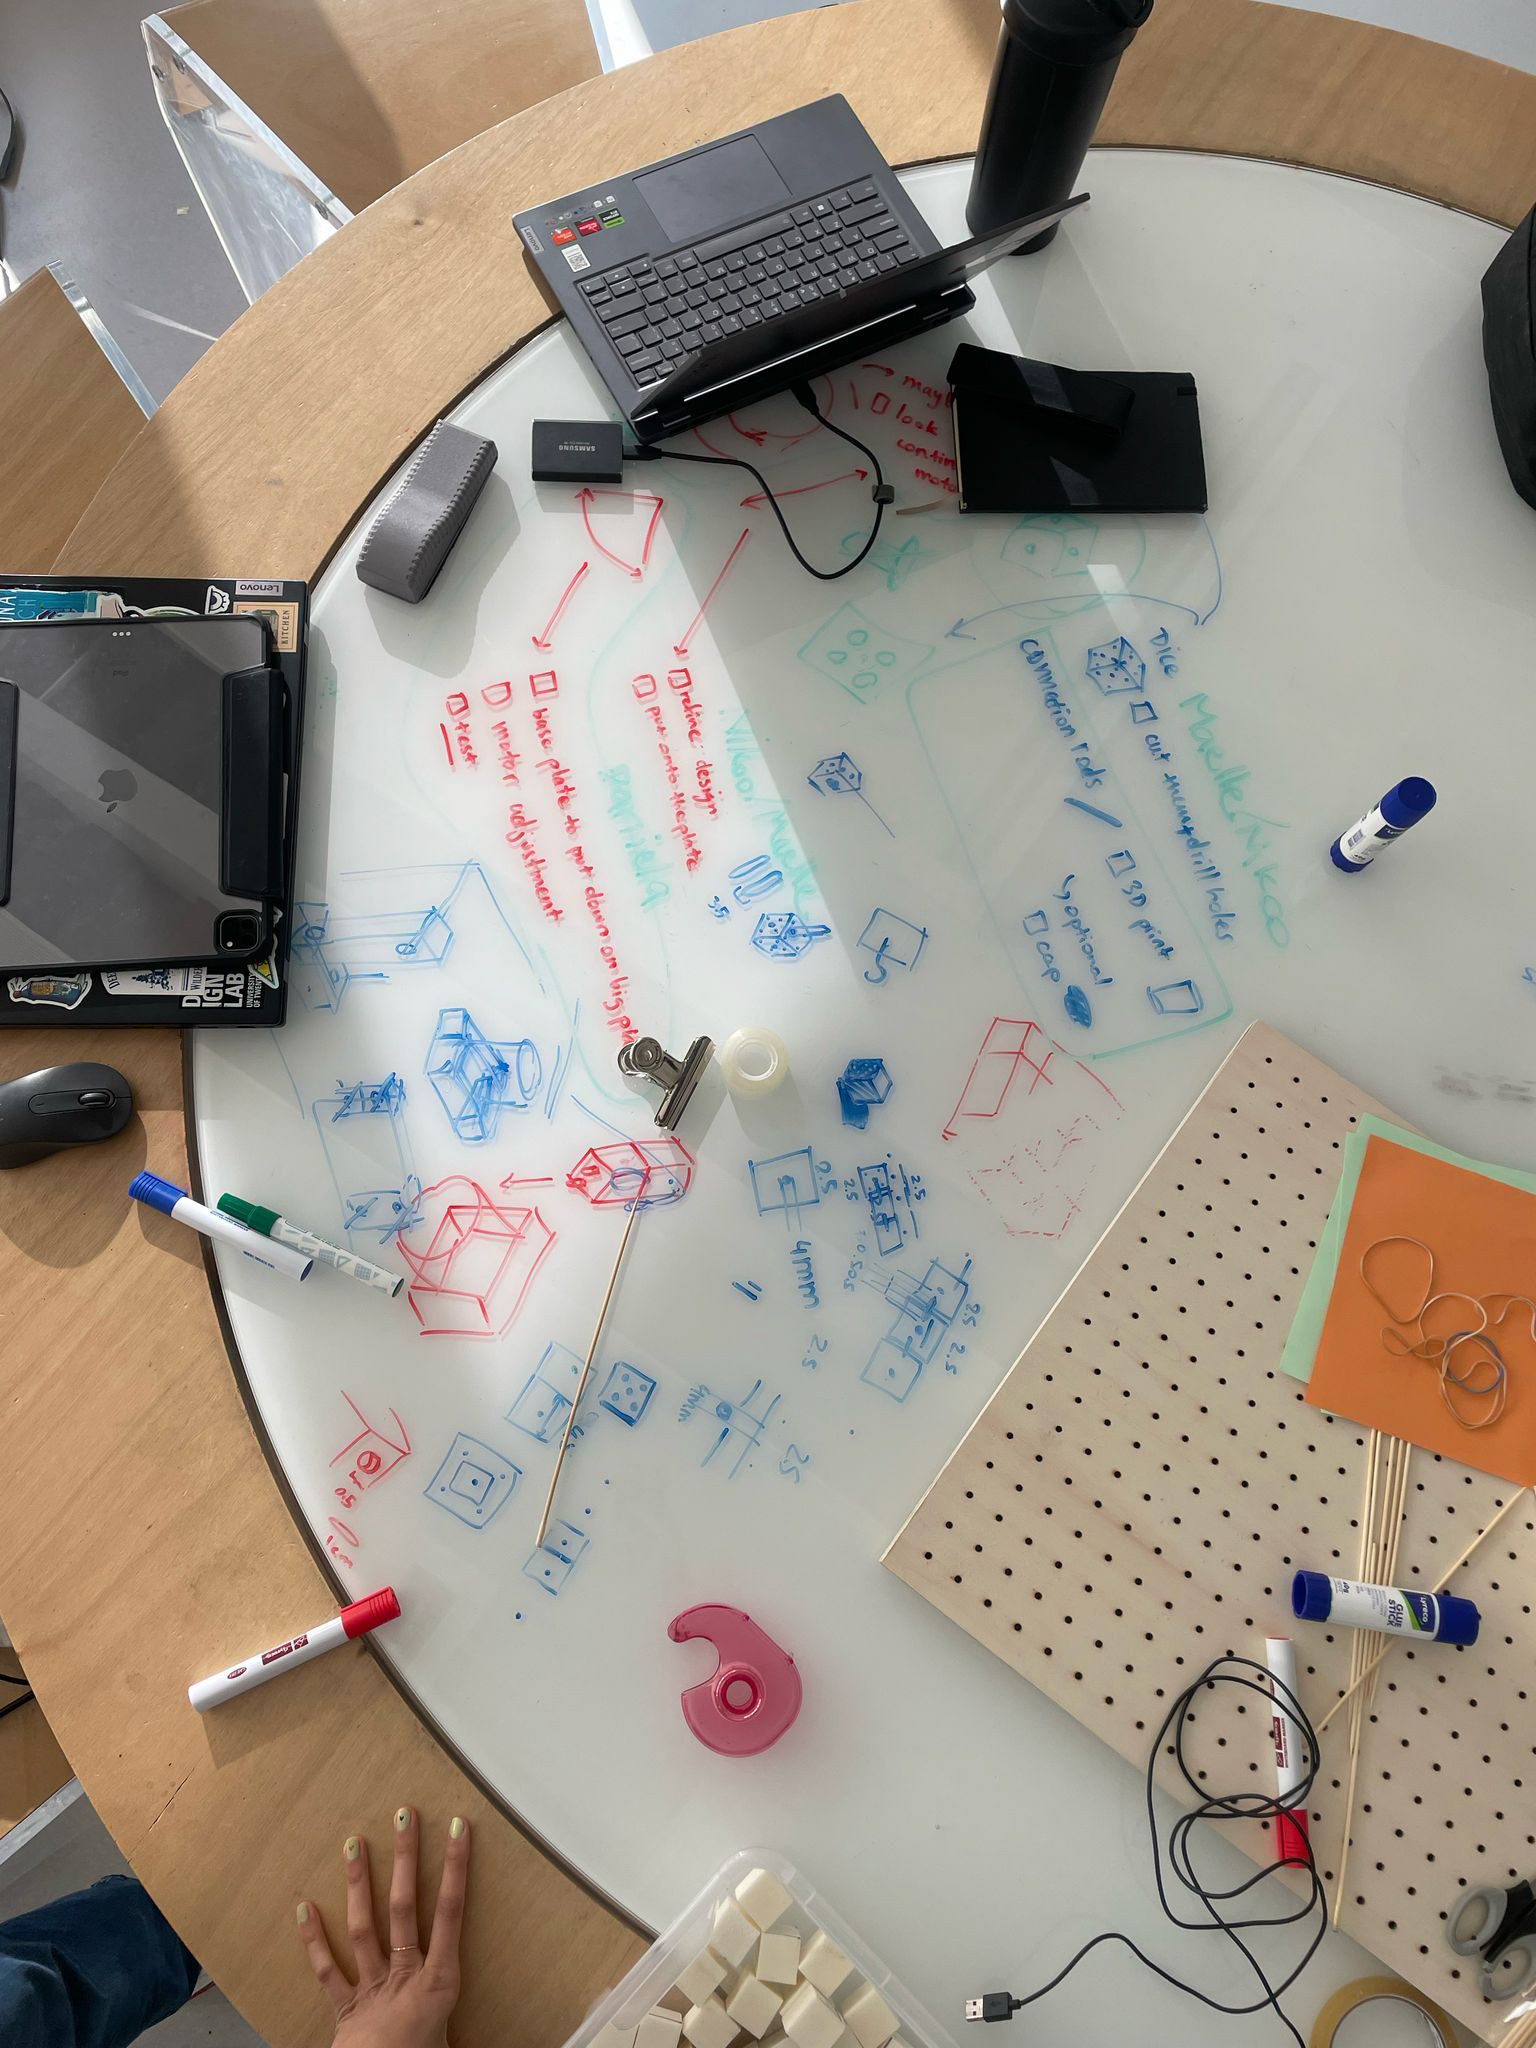
Our first task was to think of initial tinkering playground designs. We brainstormed together on a whiteboard over the course of two meetings, allowing each of us to suggest ideas and write the key points down.

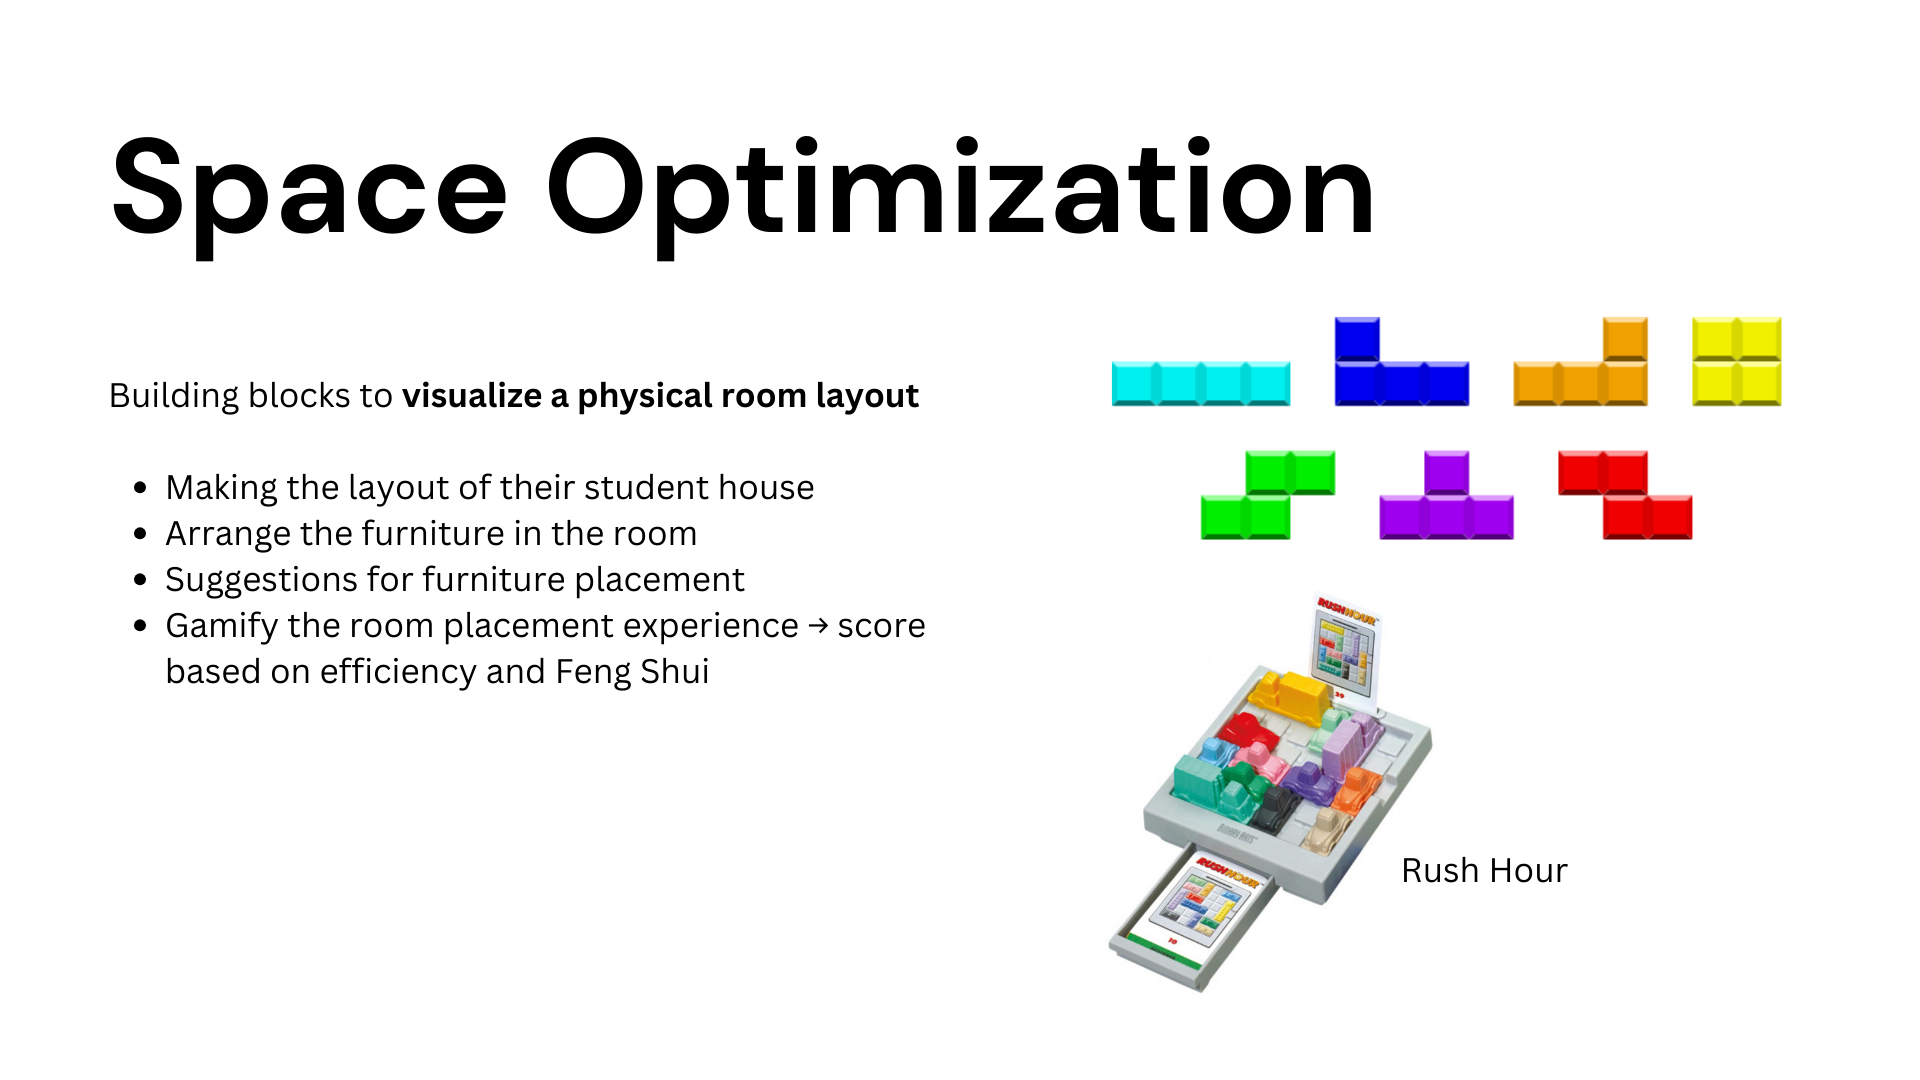
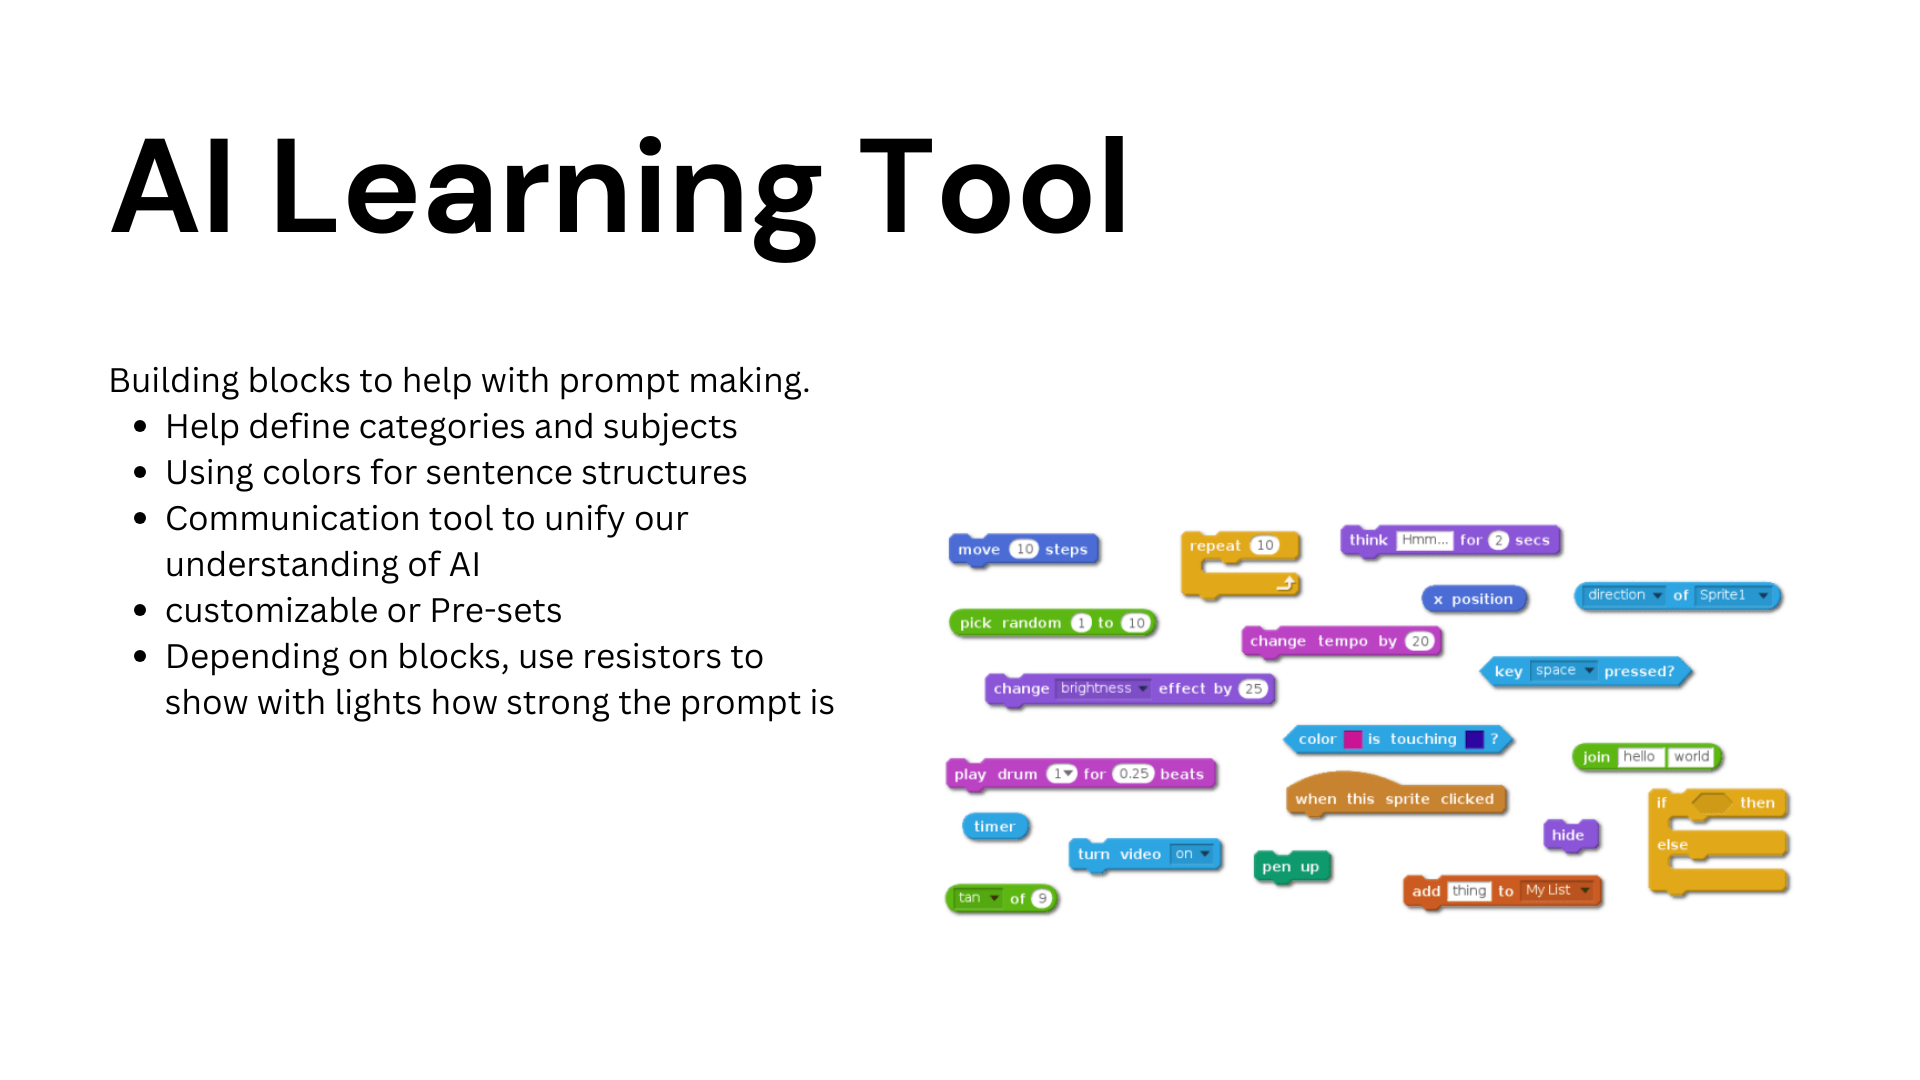
By the end of the second meeting, after some further discussion and checking technicalities online, we indicated our preferences and settled on the following three ideas:
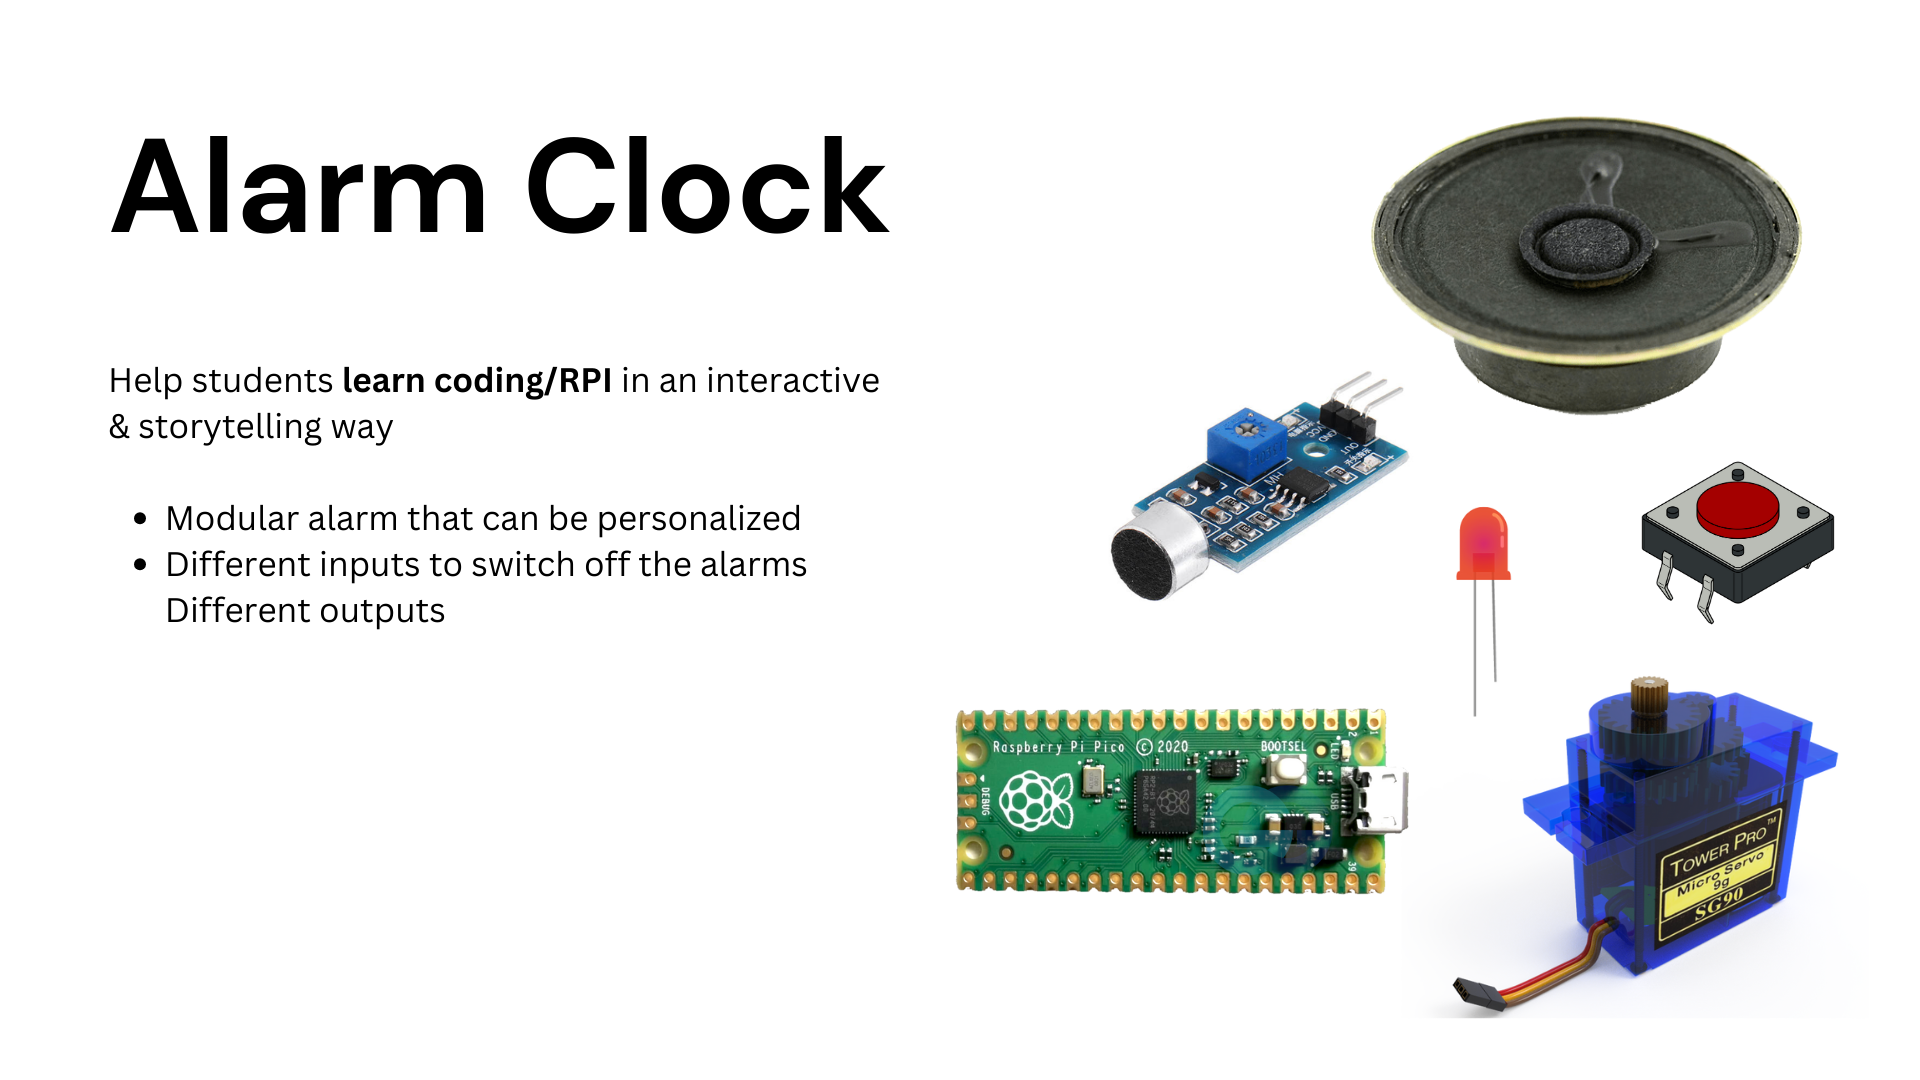
The first feedback round left us a little confused. We had been most excited about the alarm clock idea, but it was clear from the feedback that this maybe wasn't really a direction suitable for the project, and the other ideas weren't particularly great either.
Something that did come out of the feedback was some new insights on the use-cases of the Raspberry Pi Pico. The suggestion that the micro-controller is specifically suitable for use in the context of music and sound definitely sparked some new ideas.
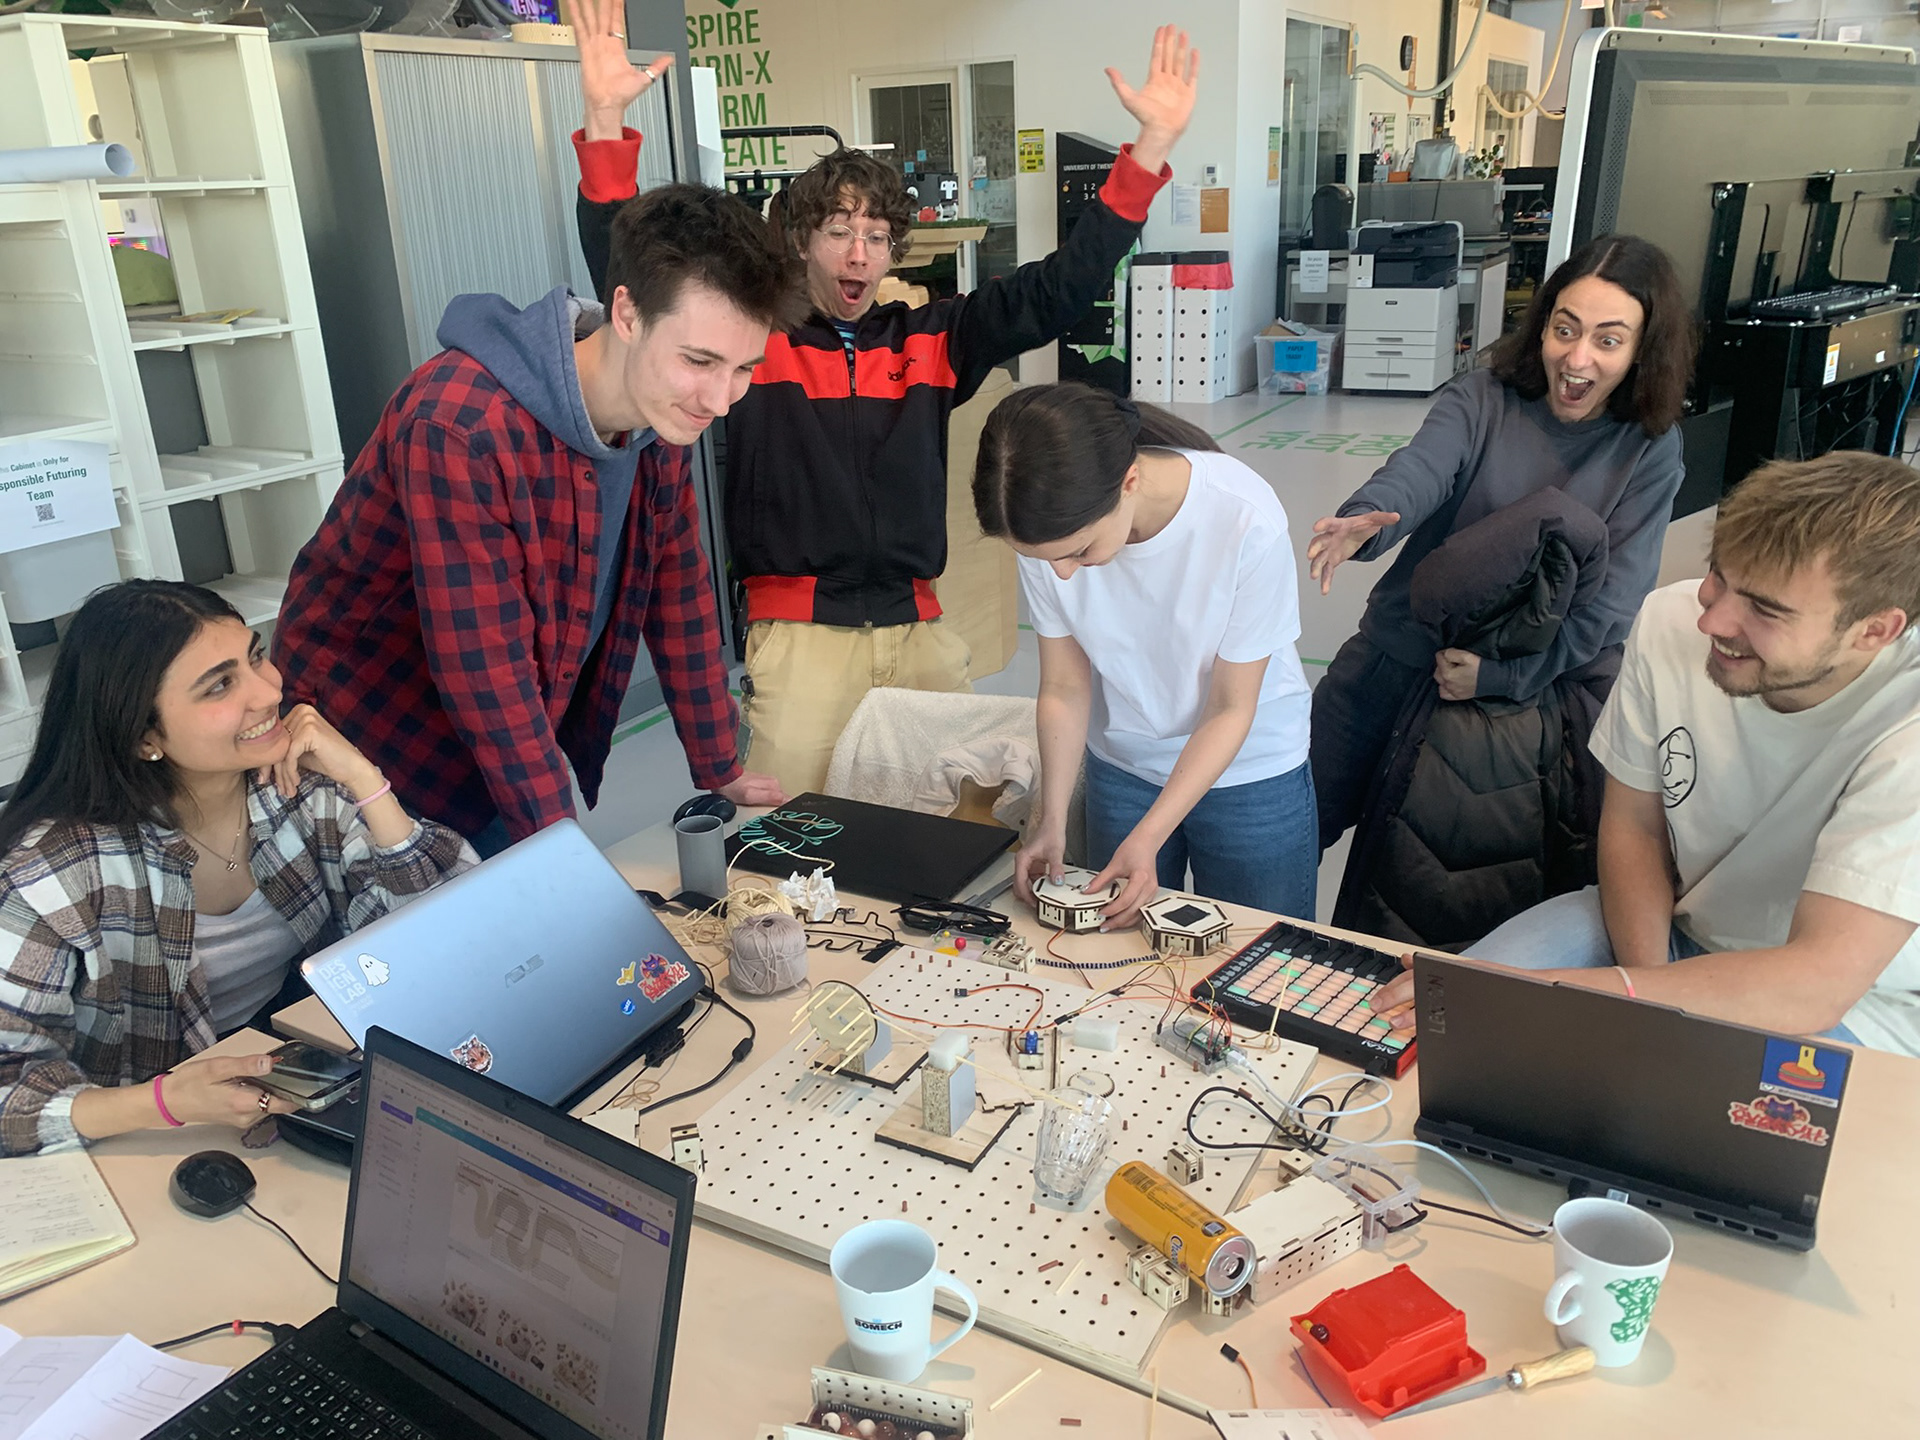
We decided to do some more emergency brainstorming, and out of this meeting came the idea to create some kind of Raspberry Pi Pico powered mechanical synthesiser, controlled through MIDI.
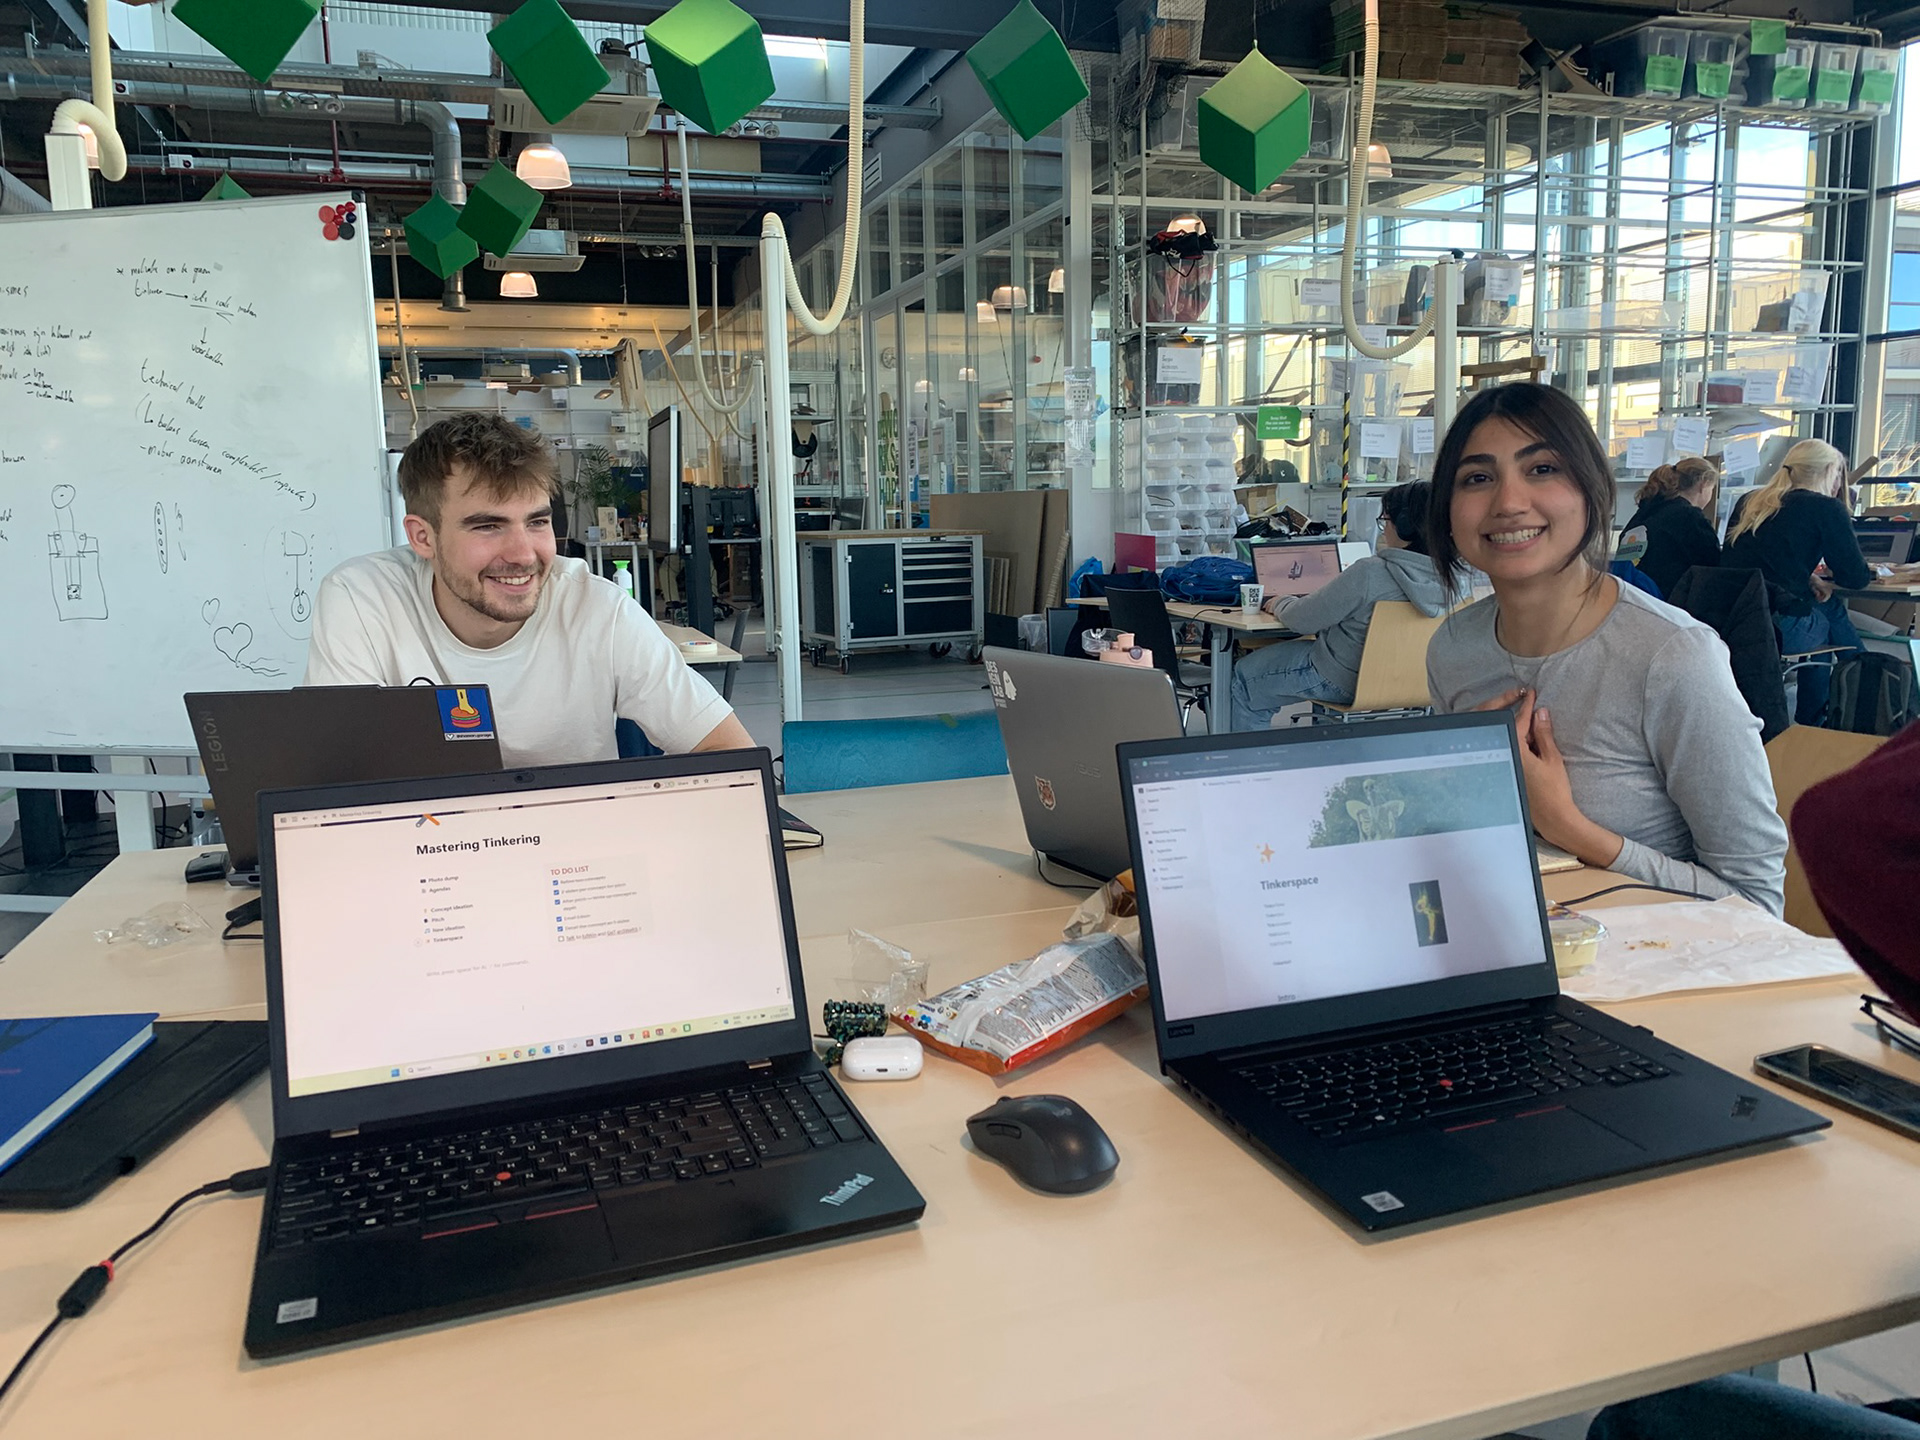
Happy faces because we have a plan! :)
Next up: building!
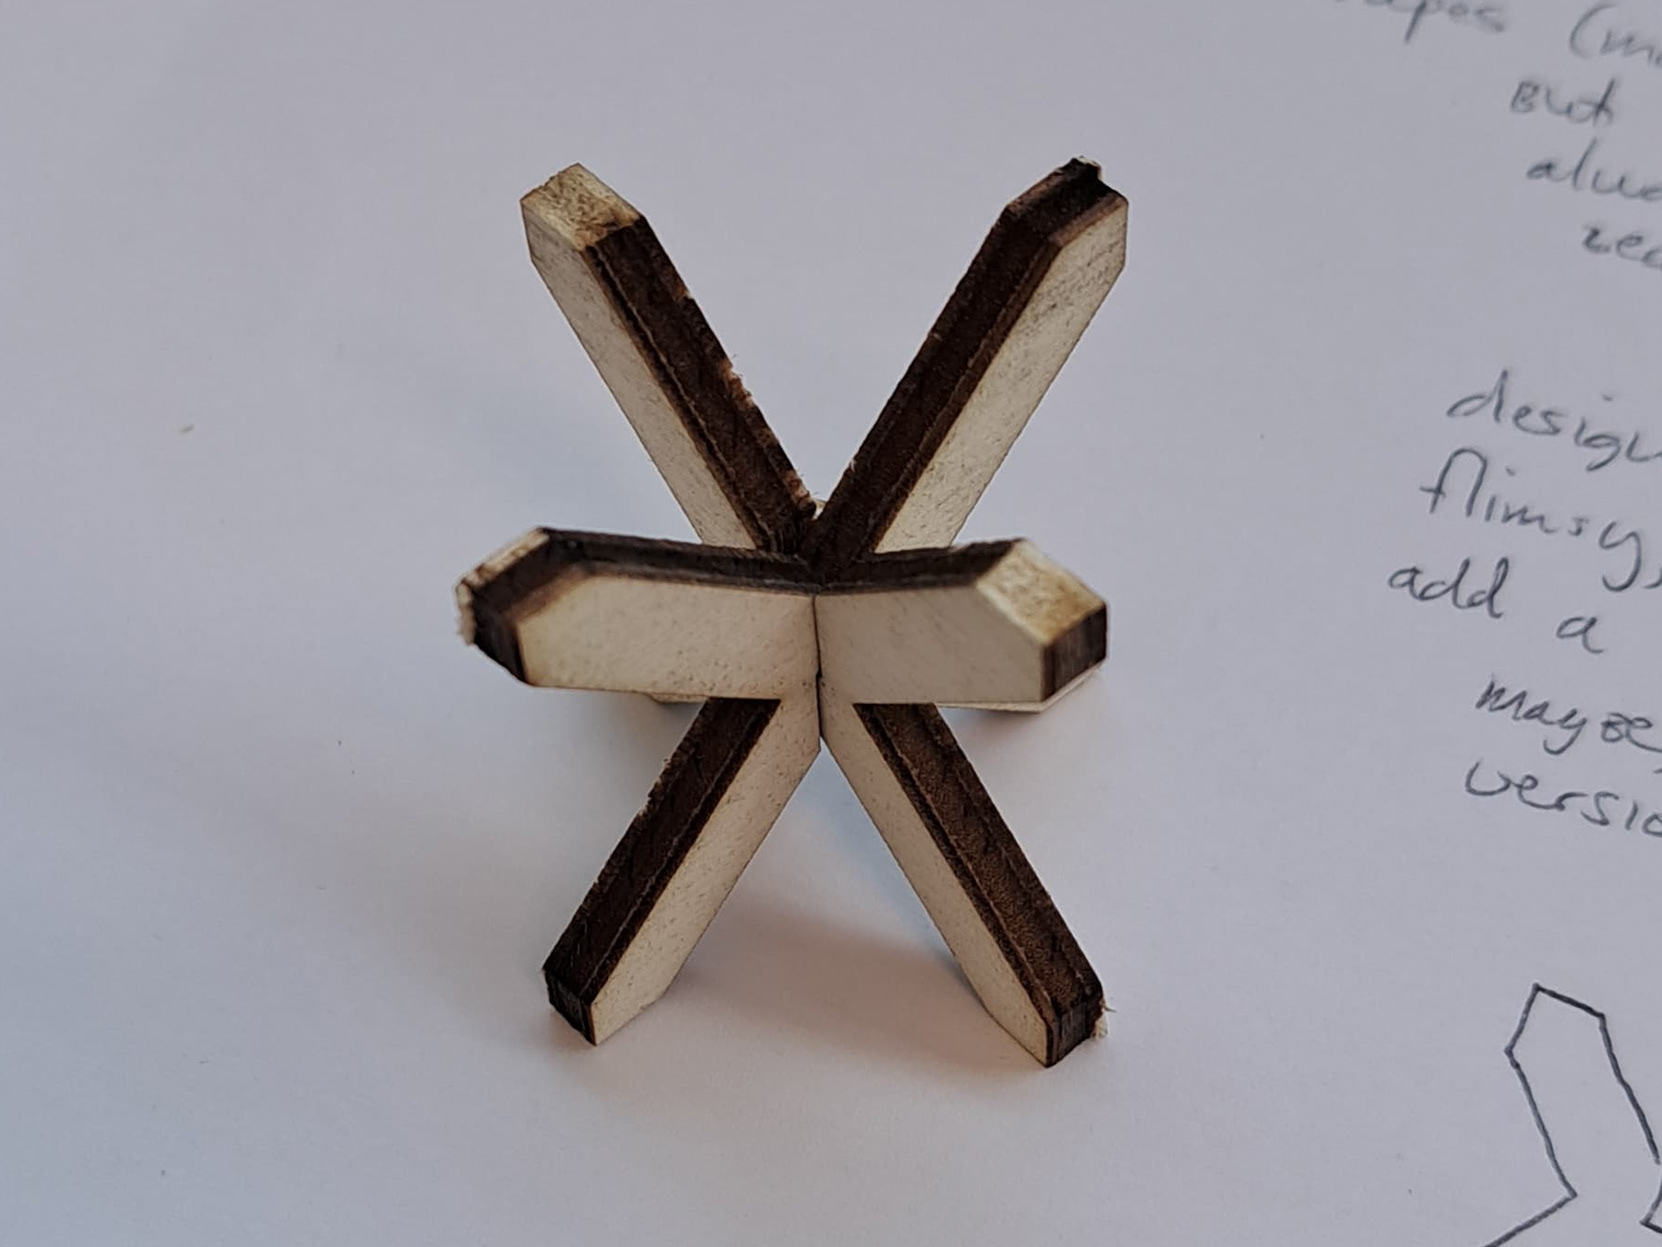
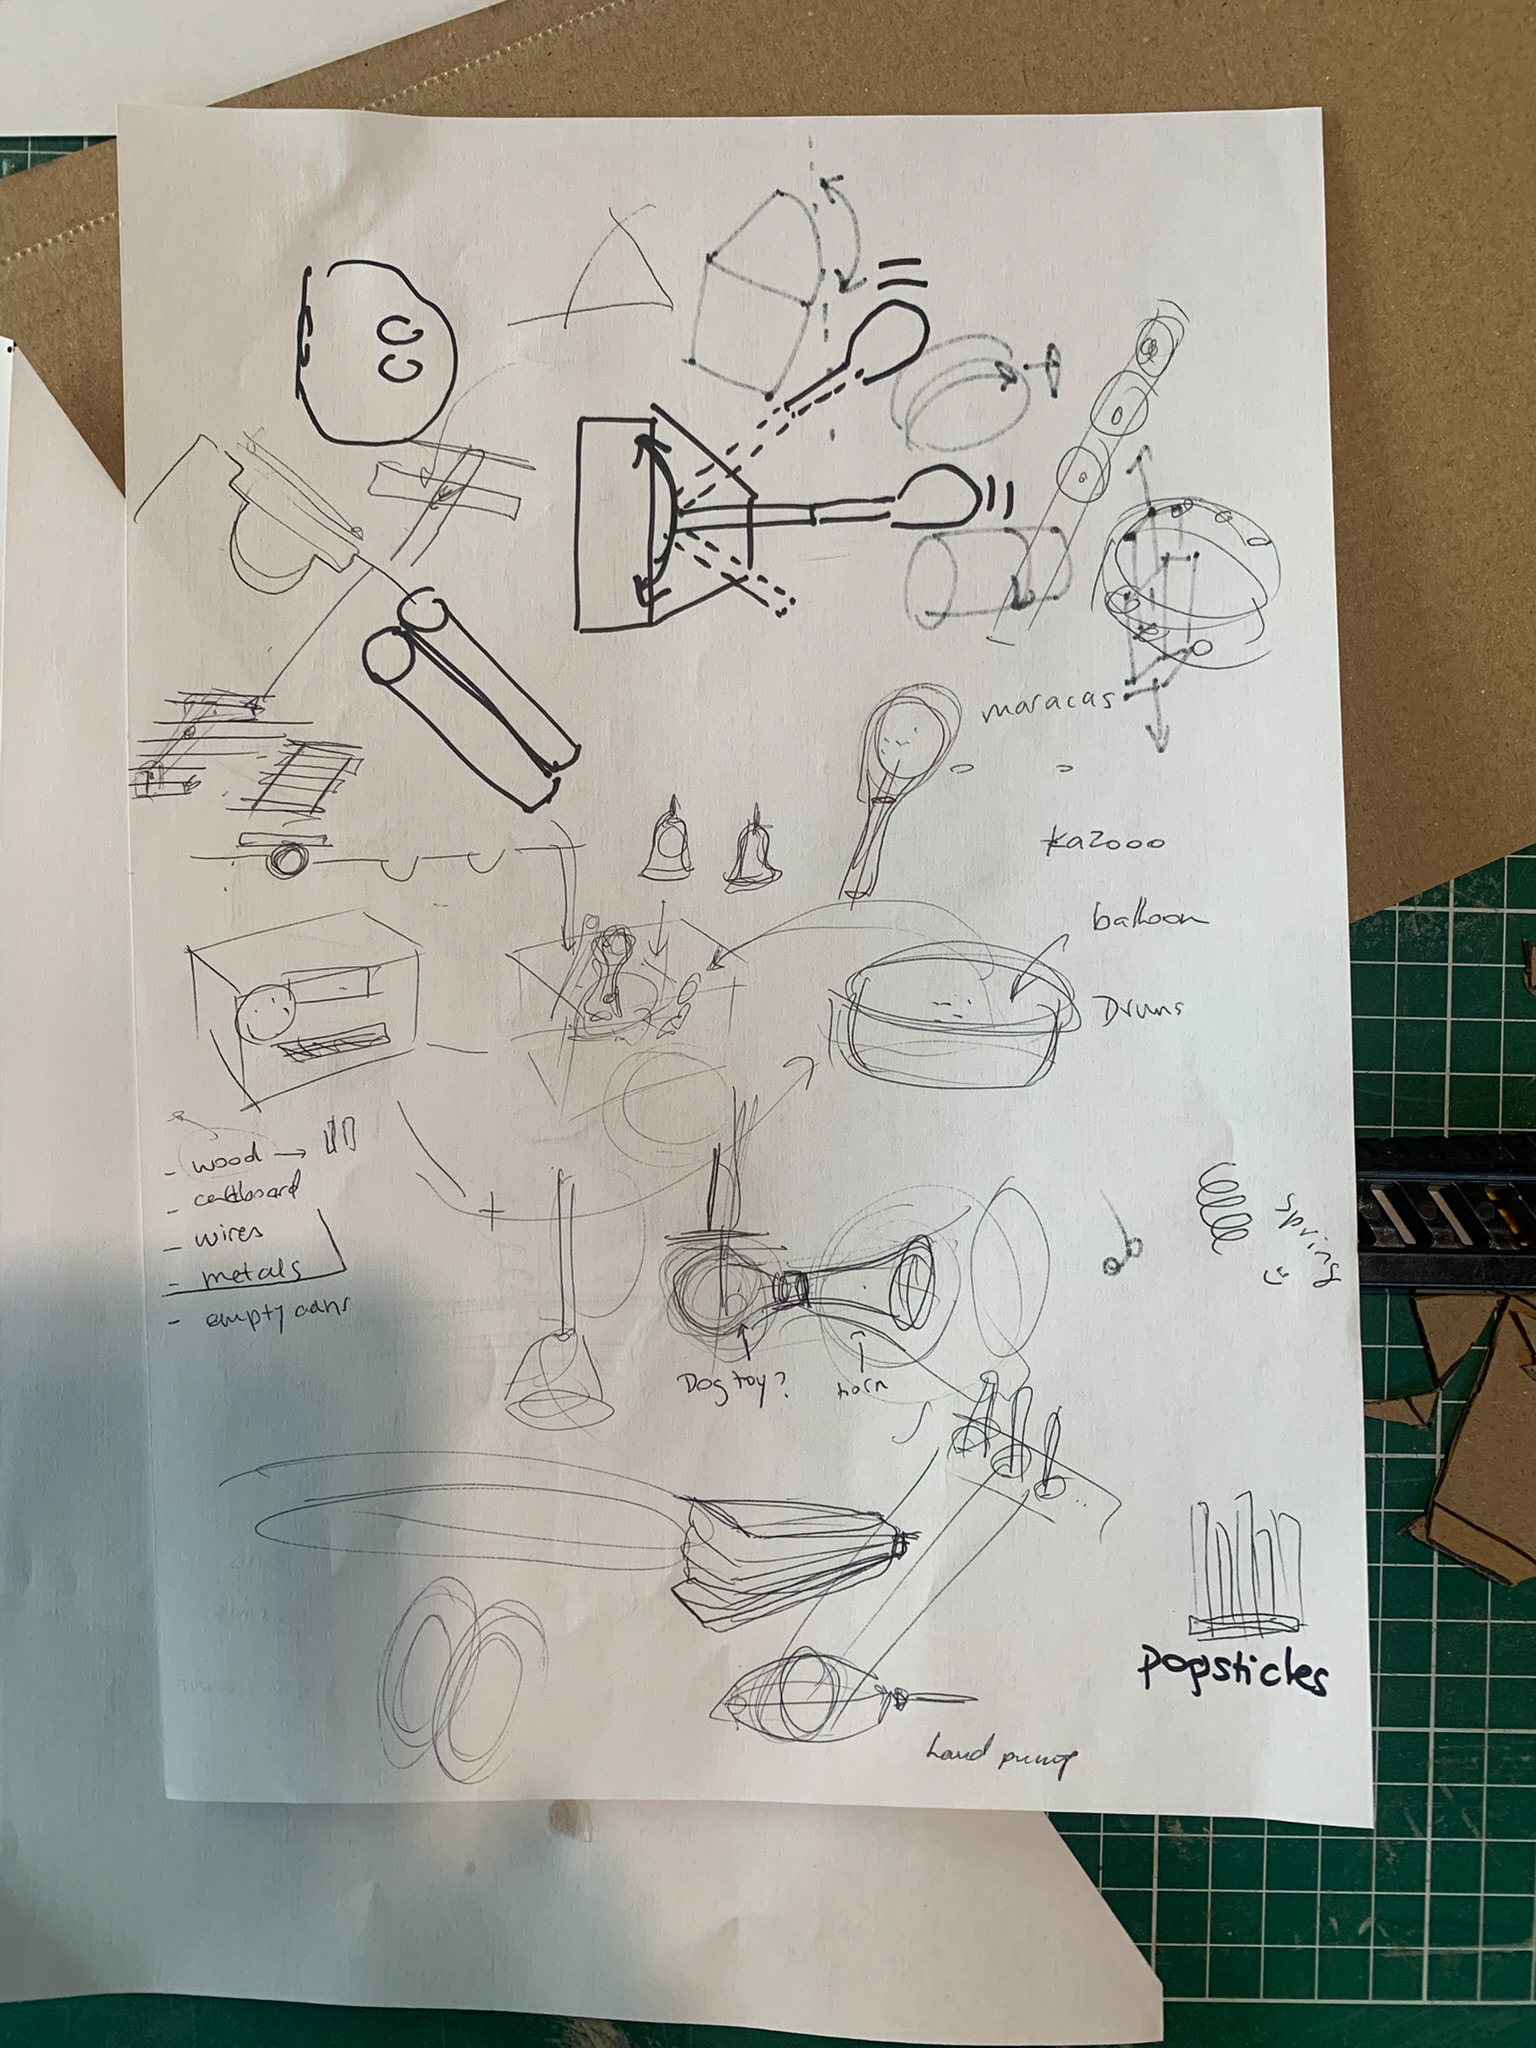
Our first goal was to create some kind of structure that when powered by a simple servo motor, could be used to create sound.
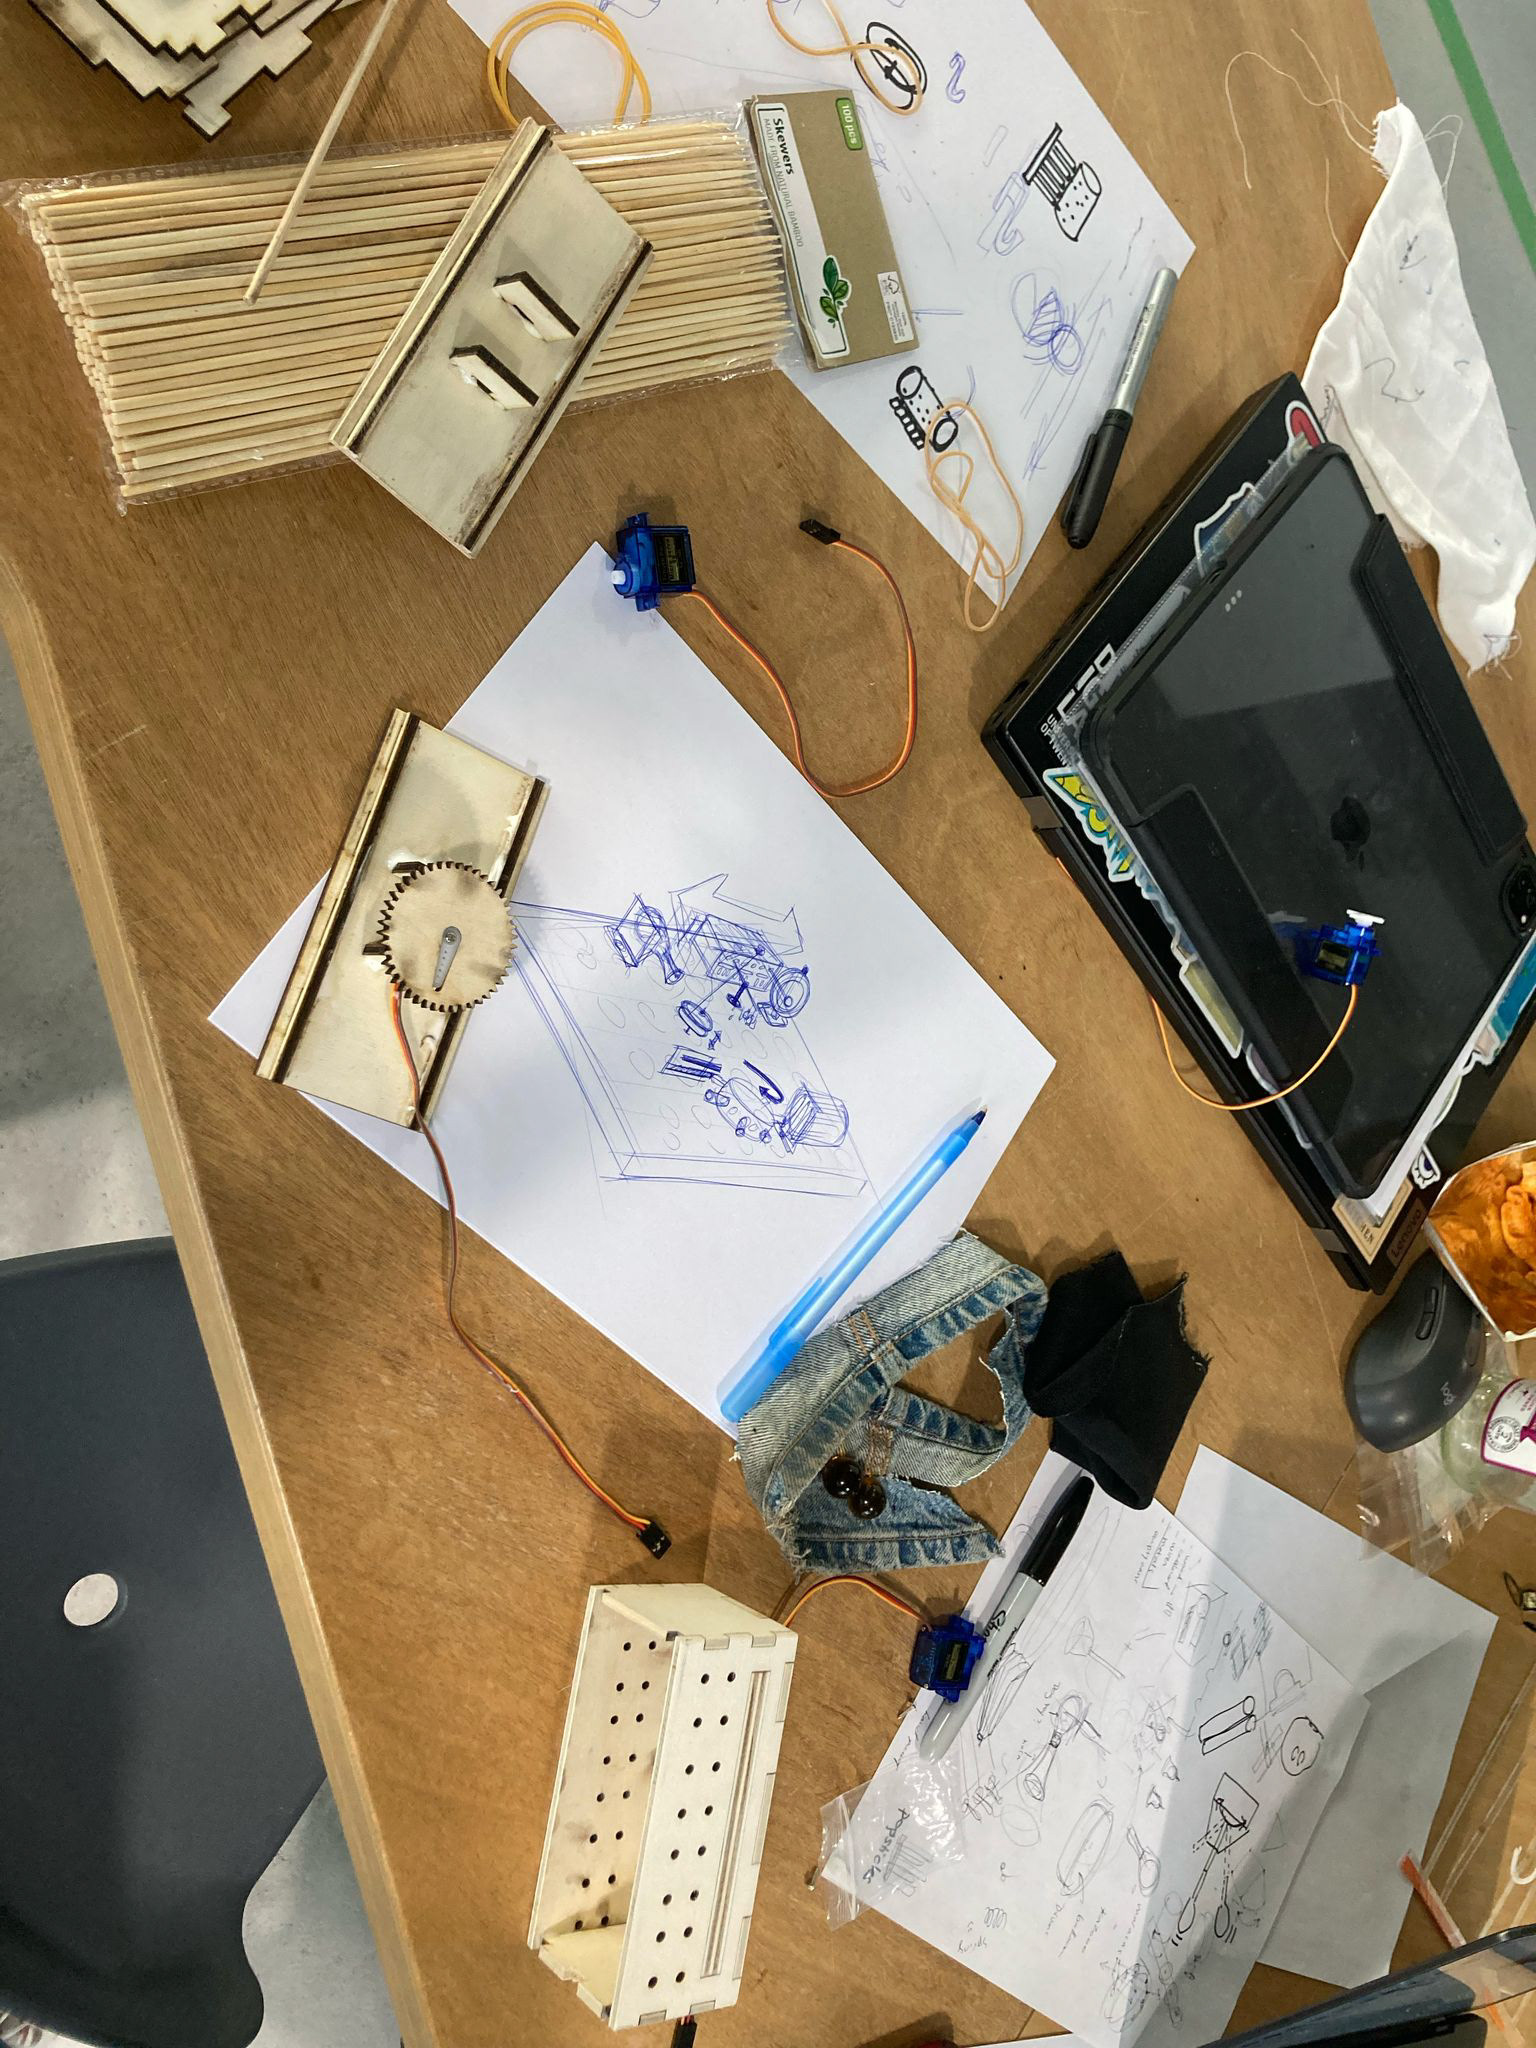
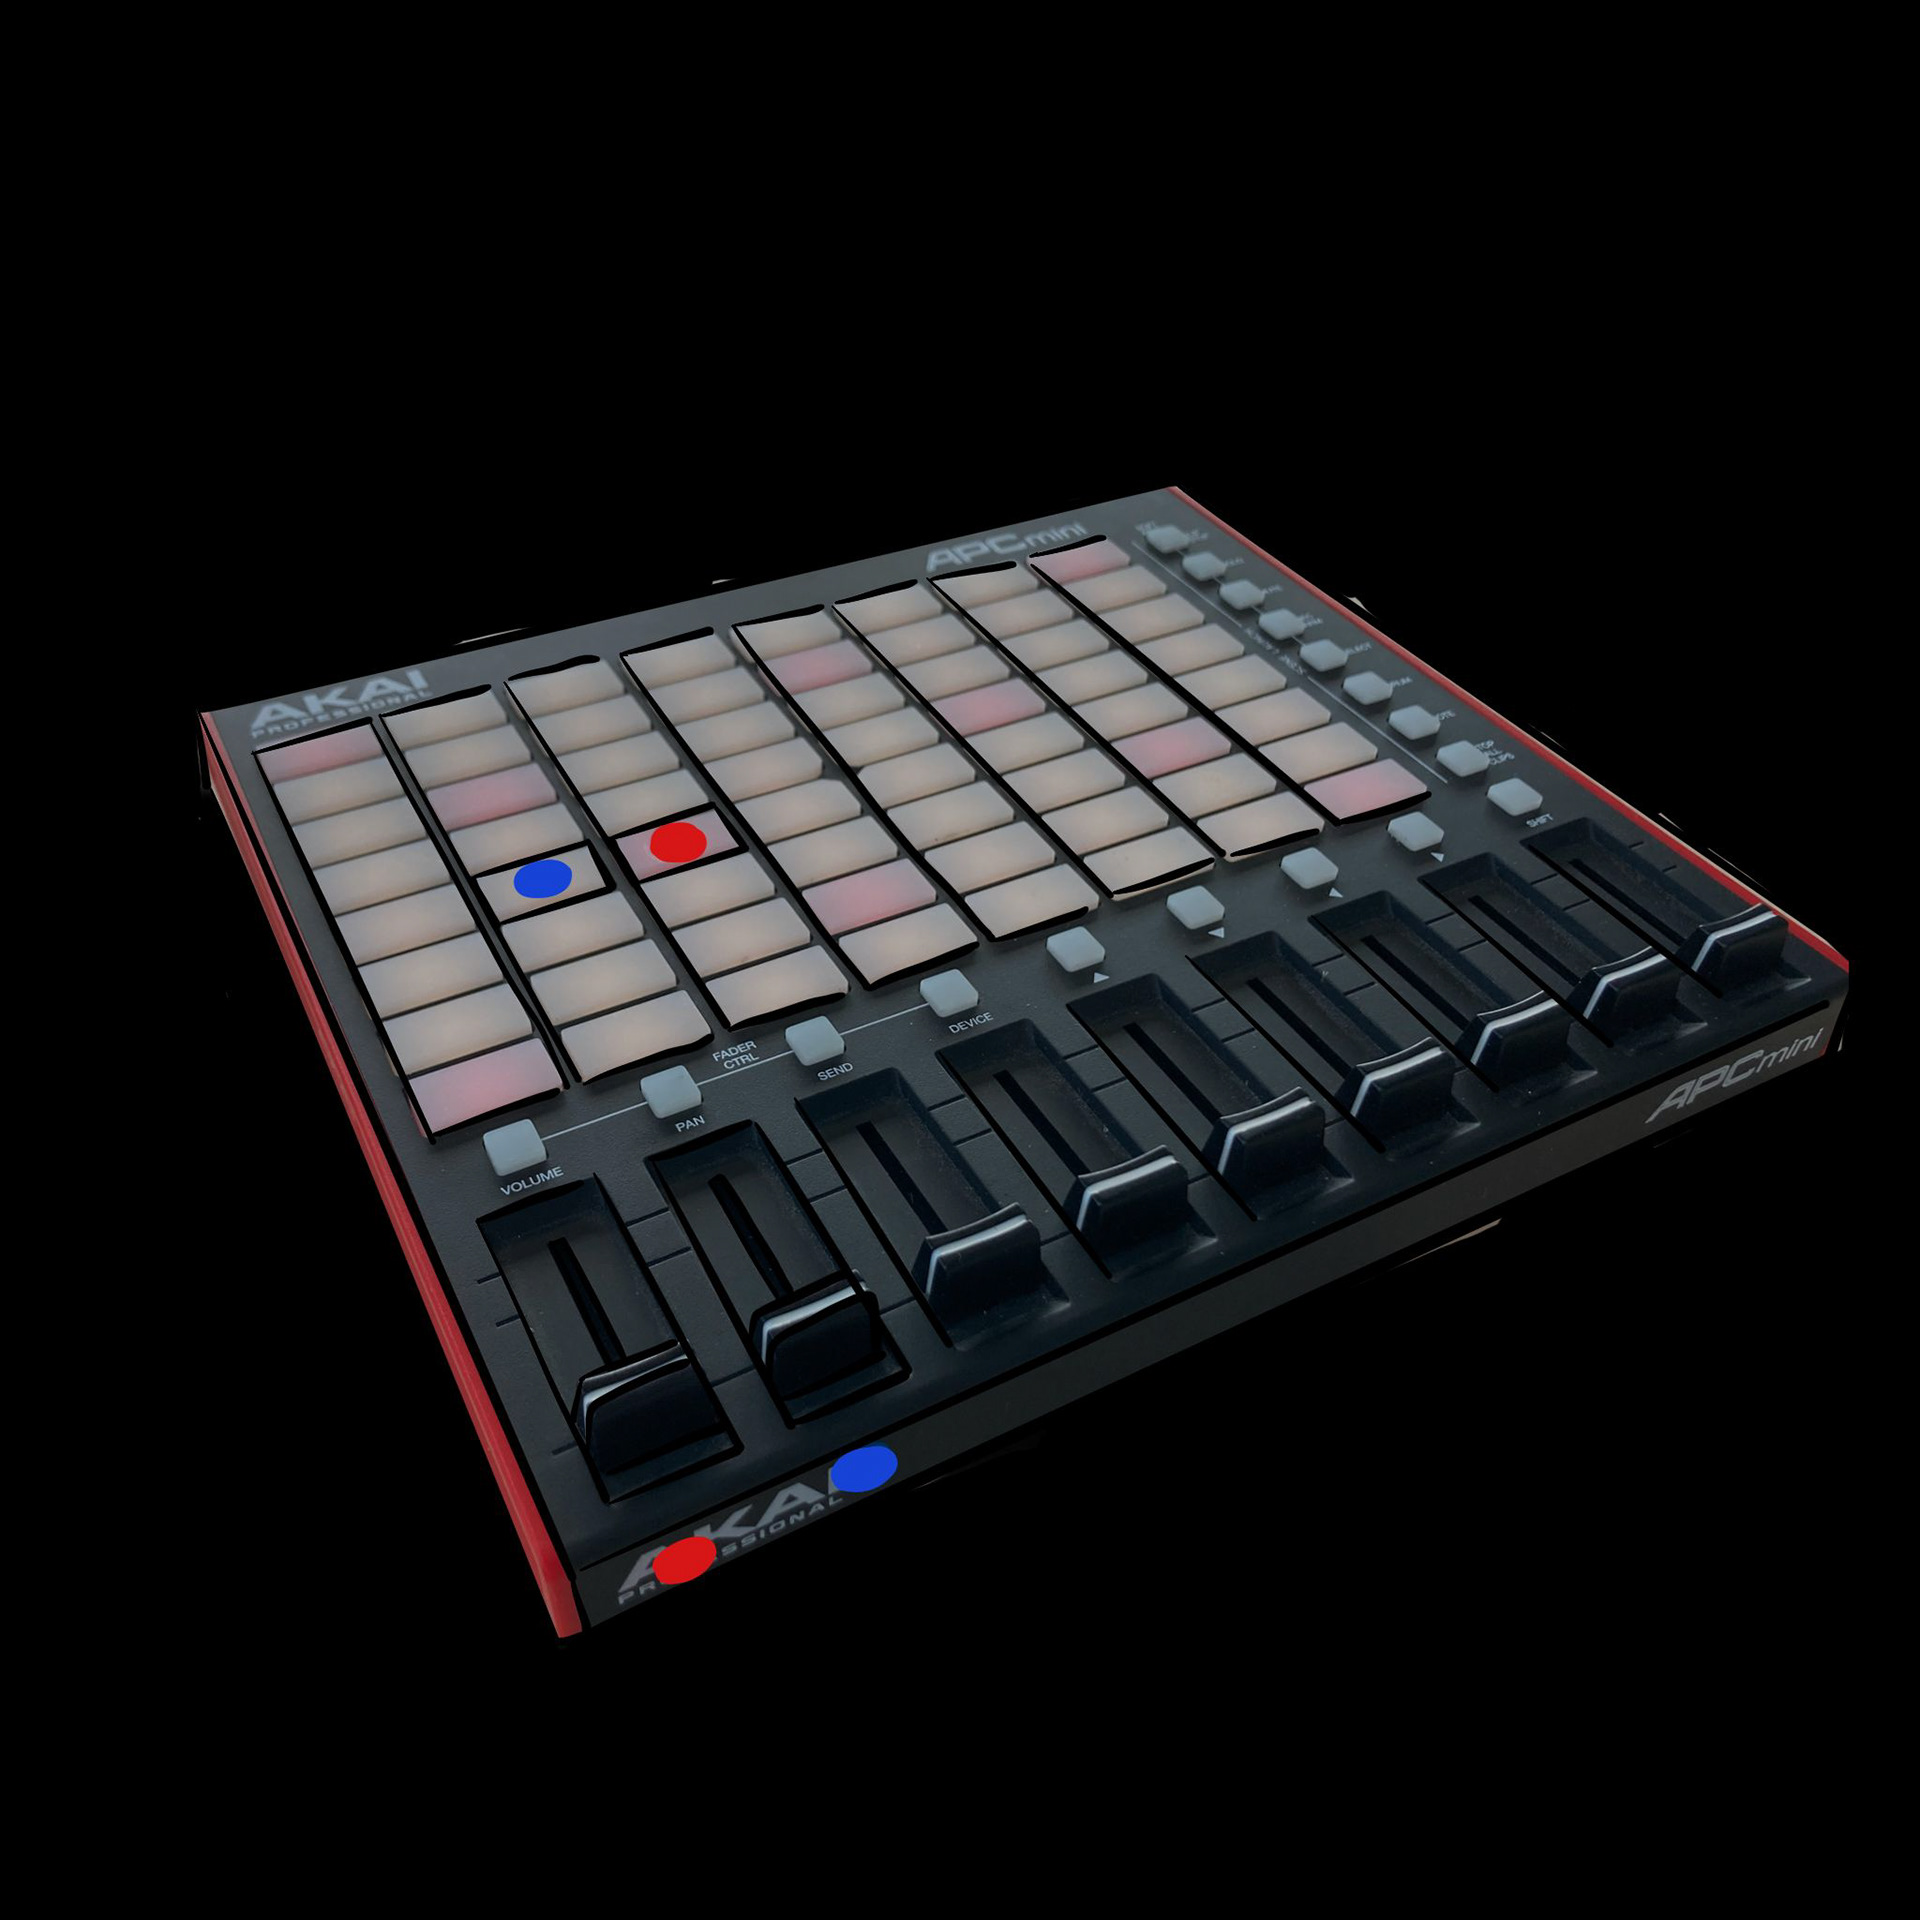
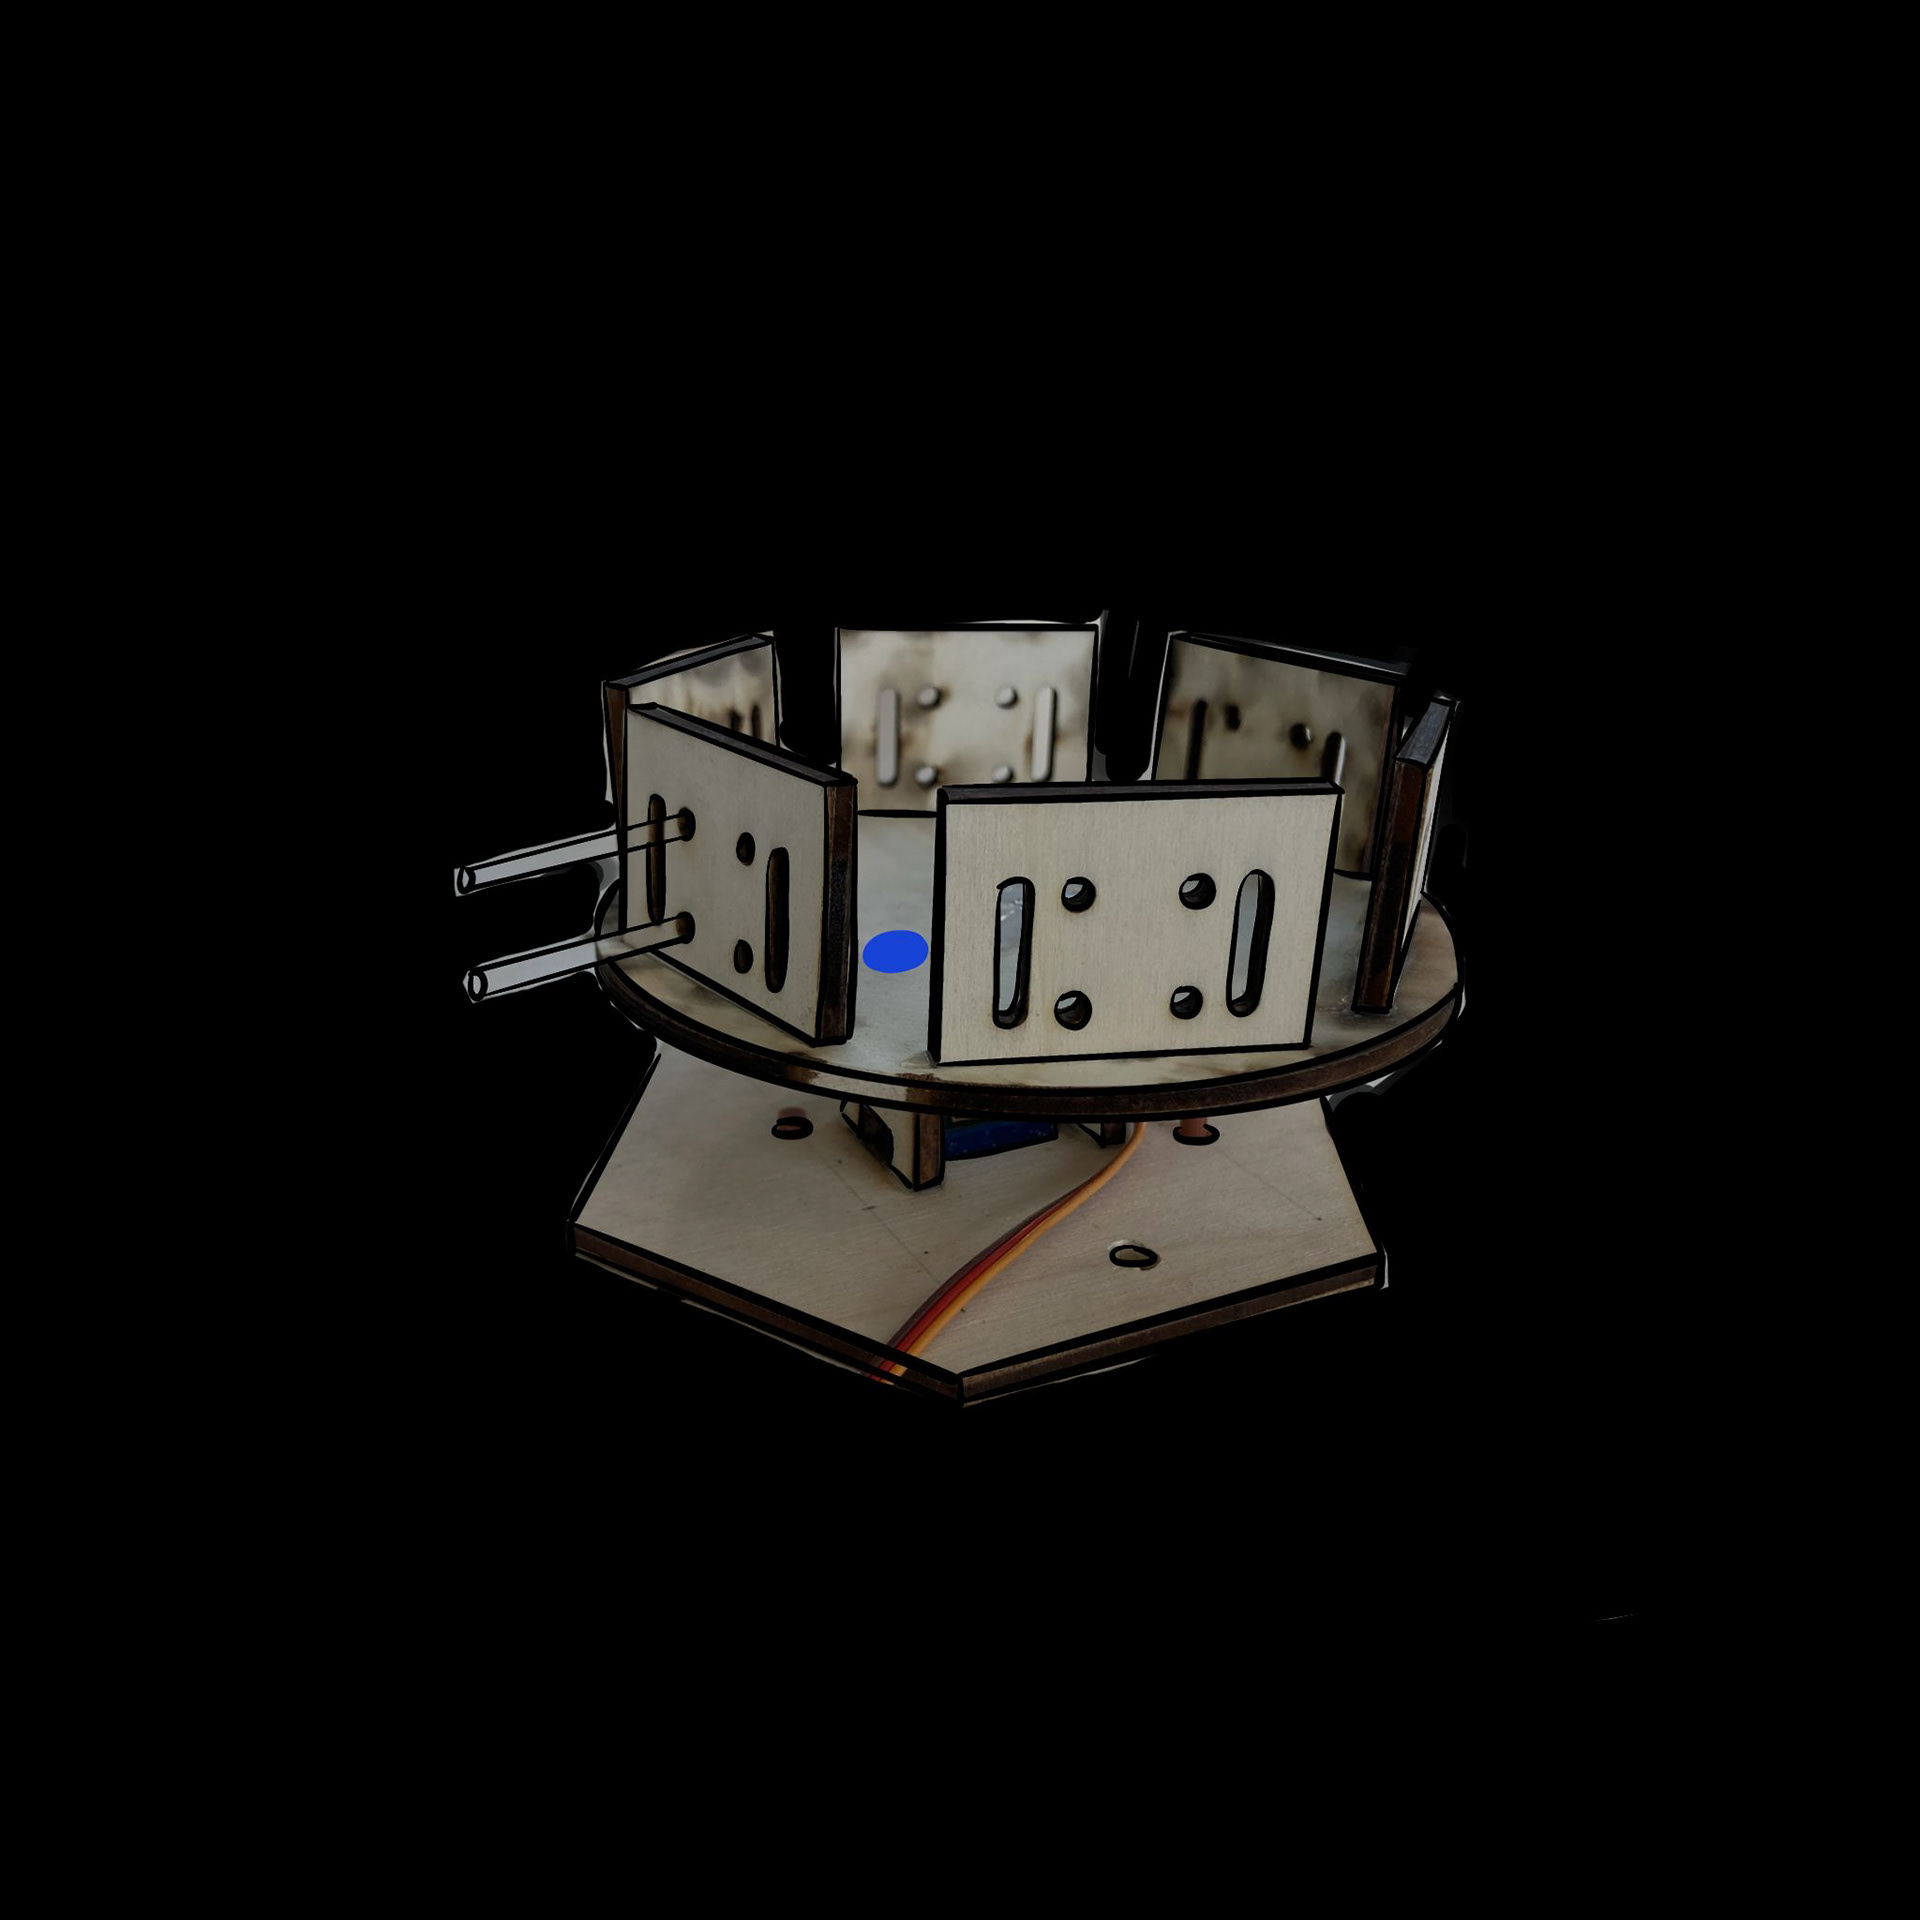
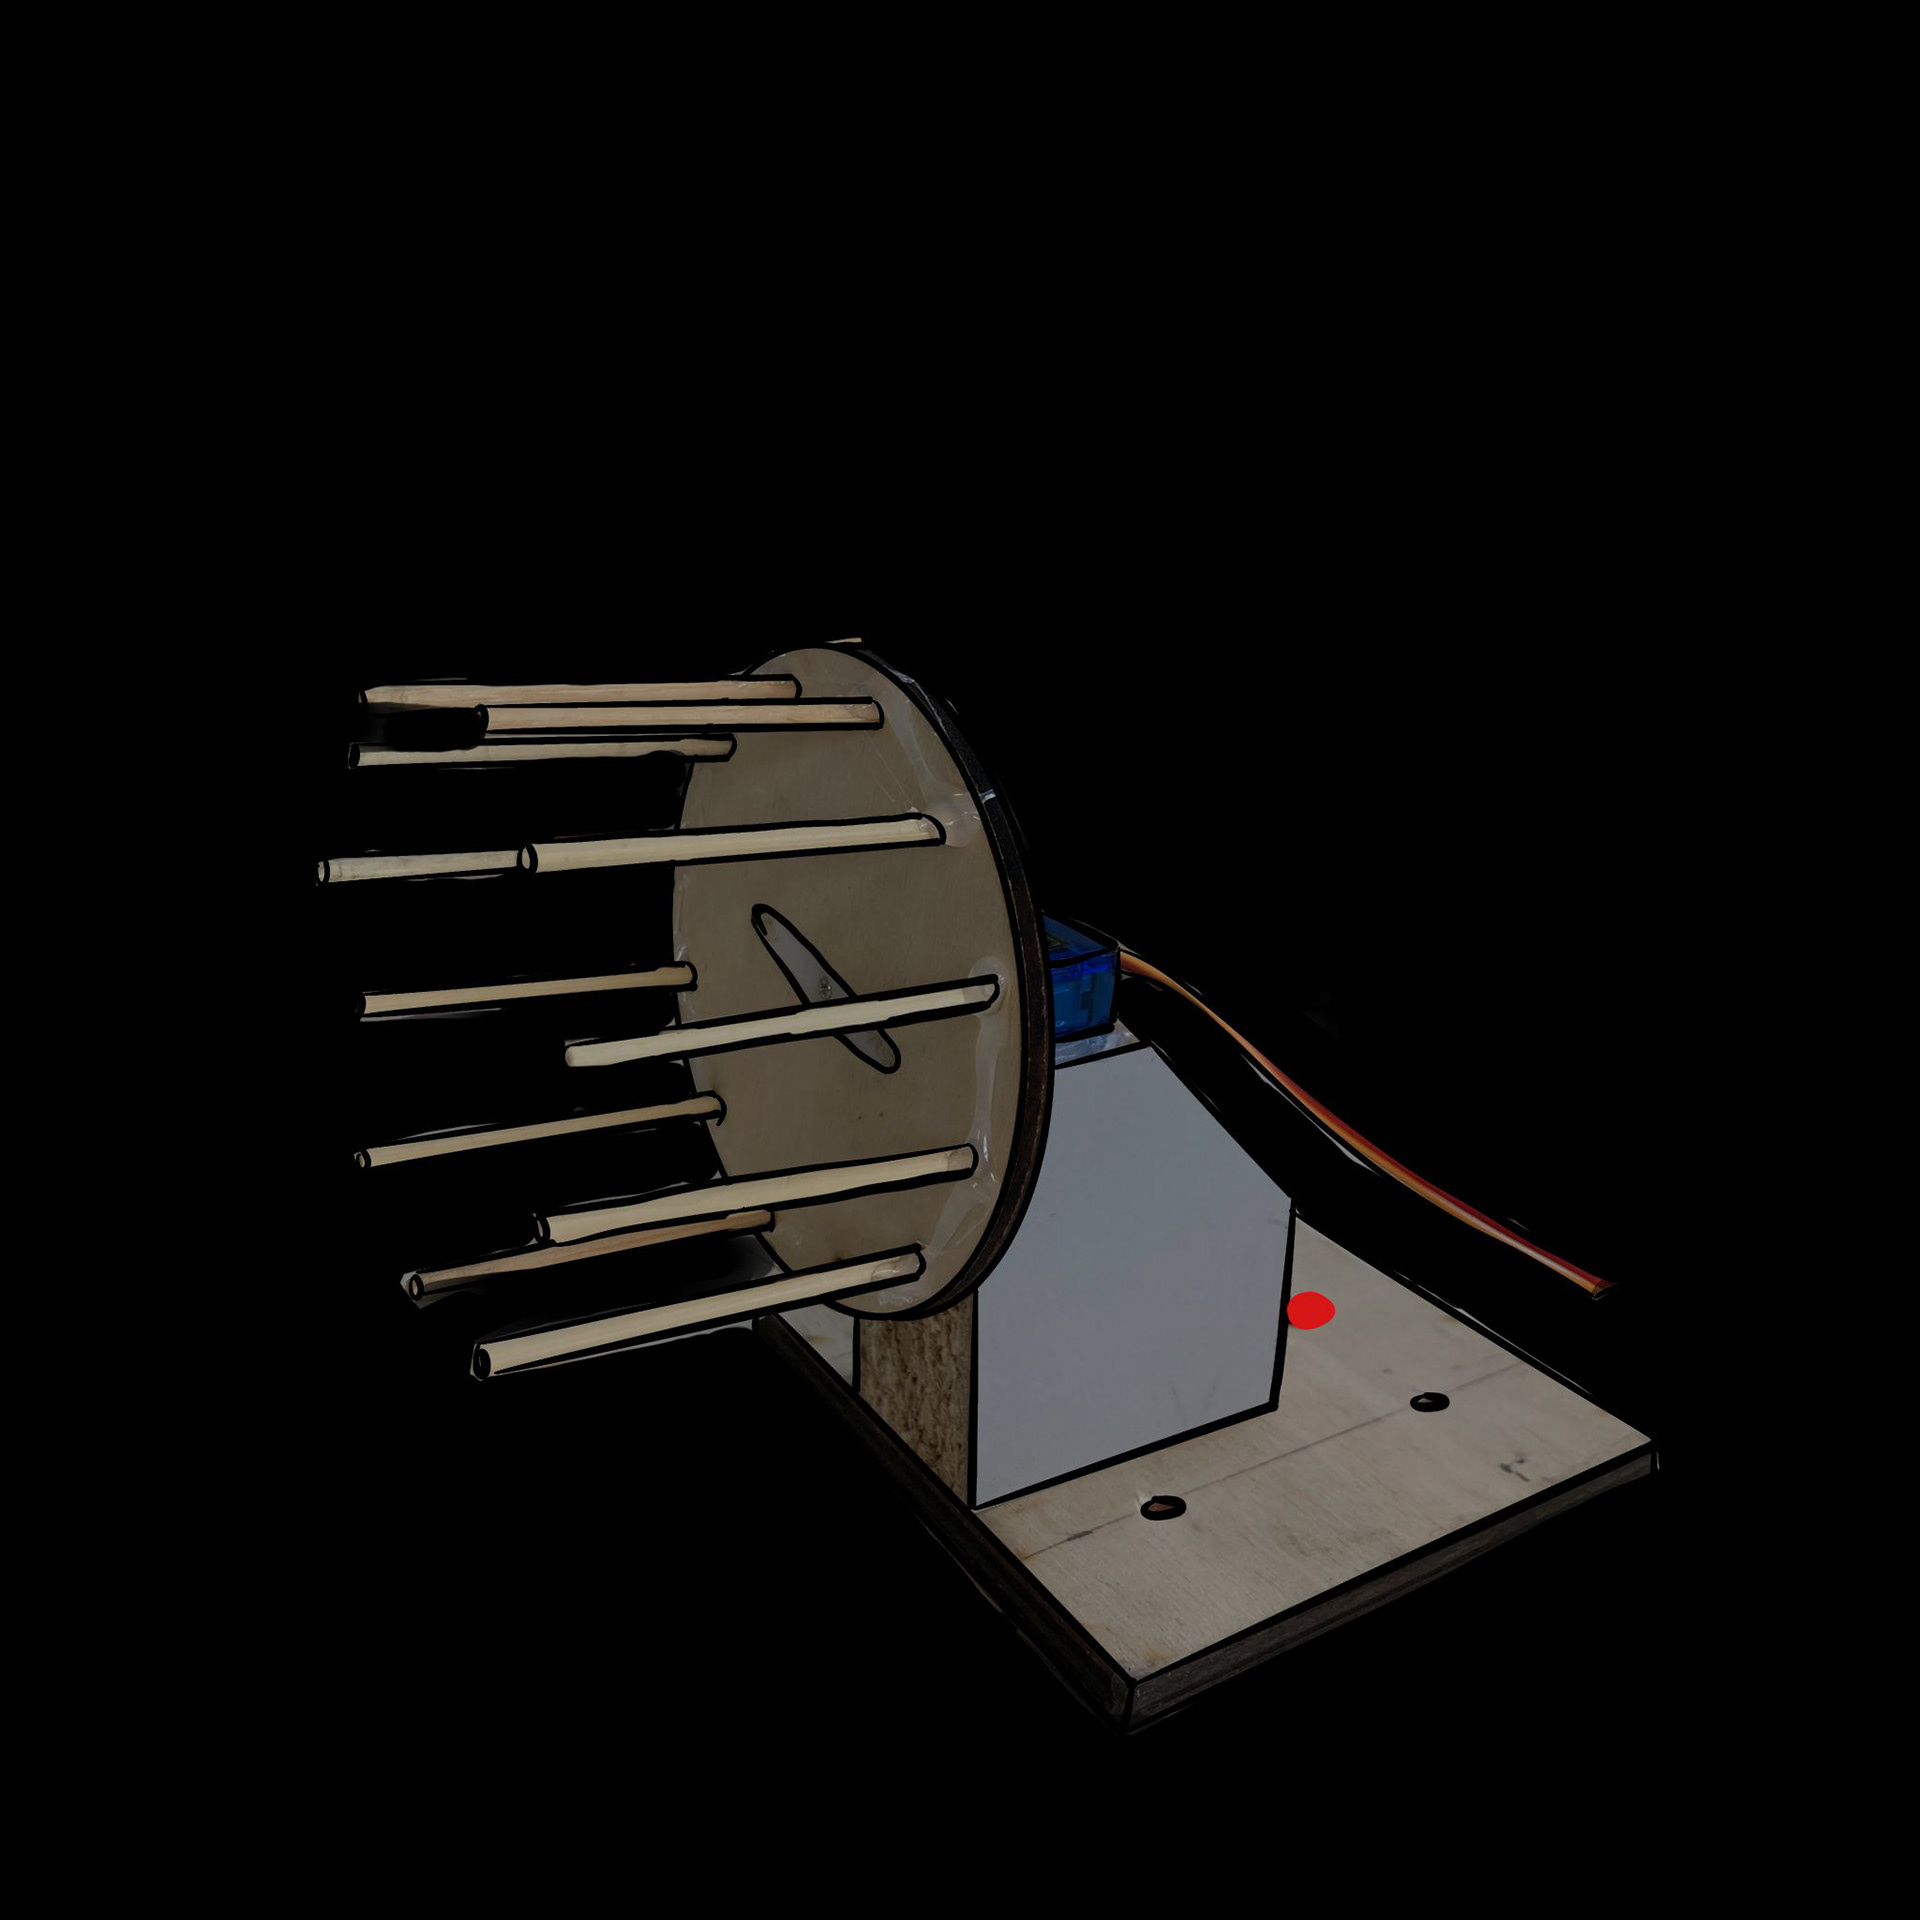
For this, we split up into two parts. One pair was gonna work on getting a servo to move, triggered by MIDI, the others would build a first version of the actuator the servo would sit in. Below are the sketches for the actuator. In the last picture the first iteration of the MIDI control was working.


First demo
Without much new input due to the strike, we continued tinkering on our own. We went back to the whiteboard to define the next steps of expanding our mechanical synth.
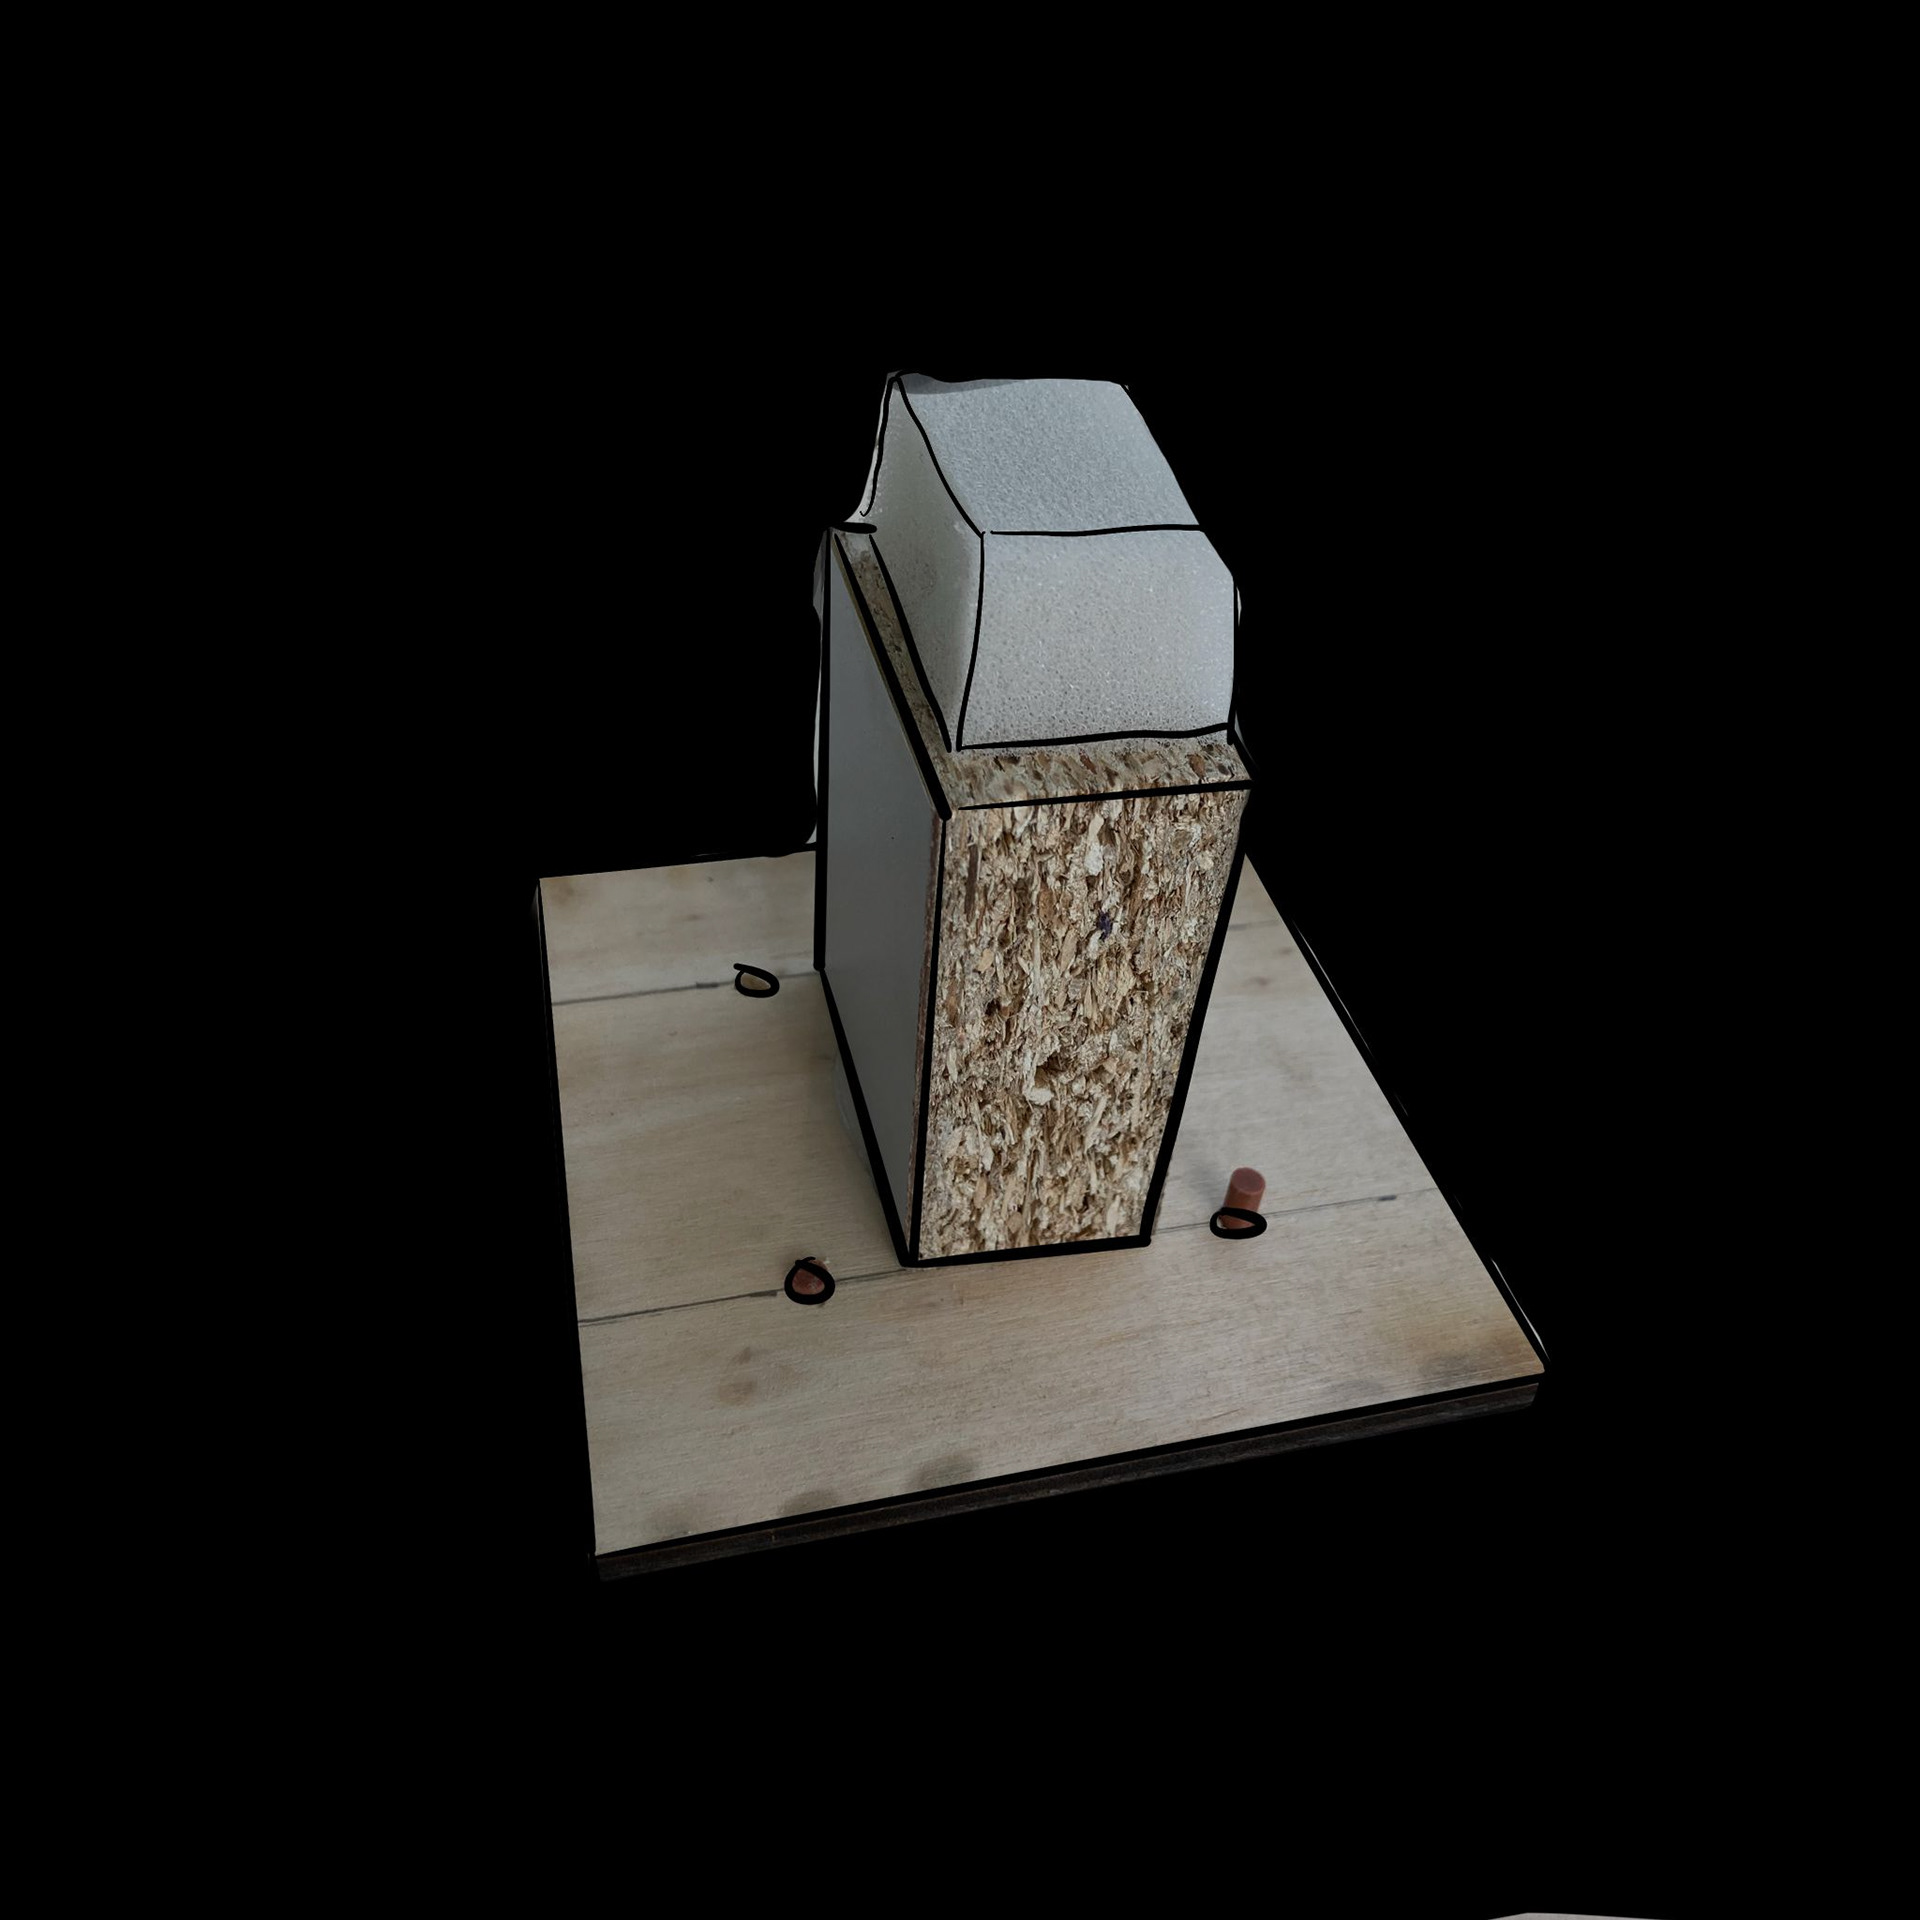
It was clear we needed another type of movement to make the tinkering possibilities more interesting. At this moment we only had linear movement, which was working only sometimes. Therefore, some kind of rotating actuator seemed like the logical next step.
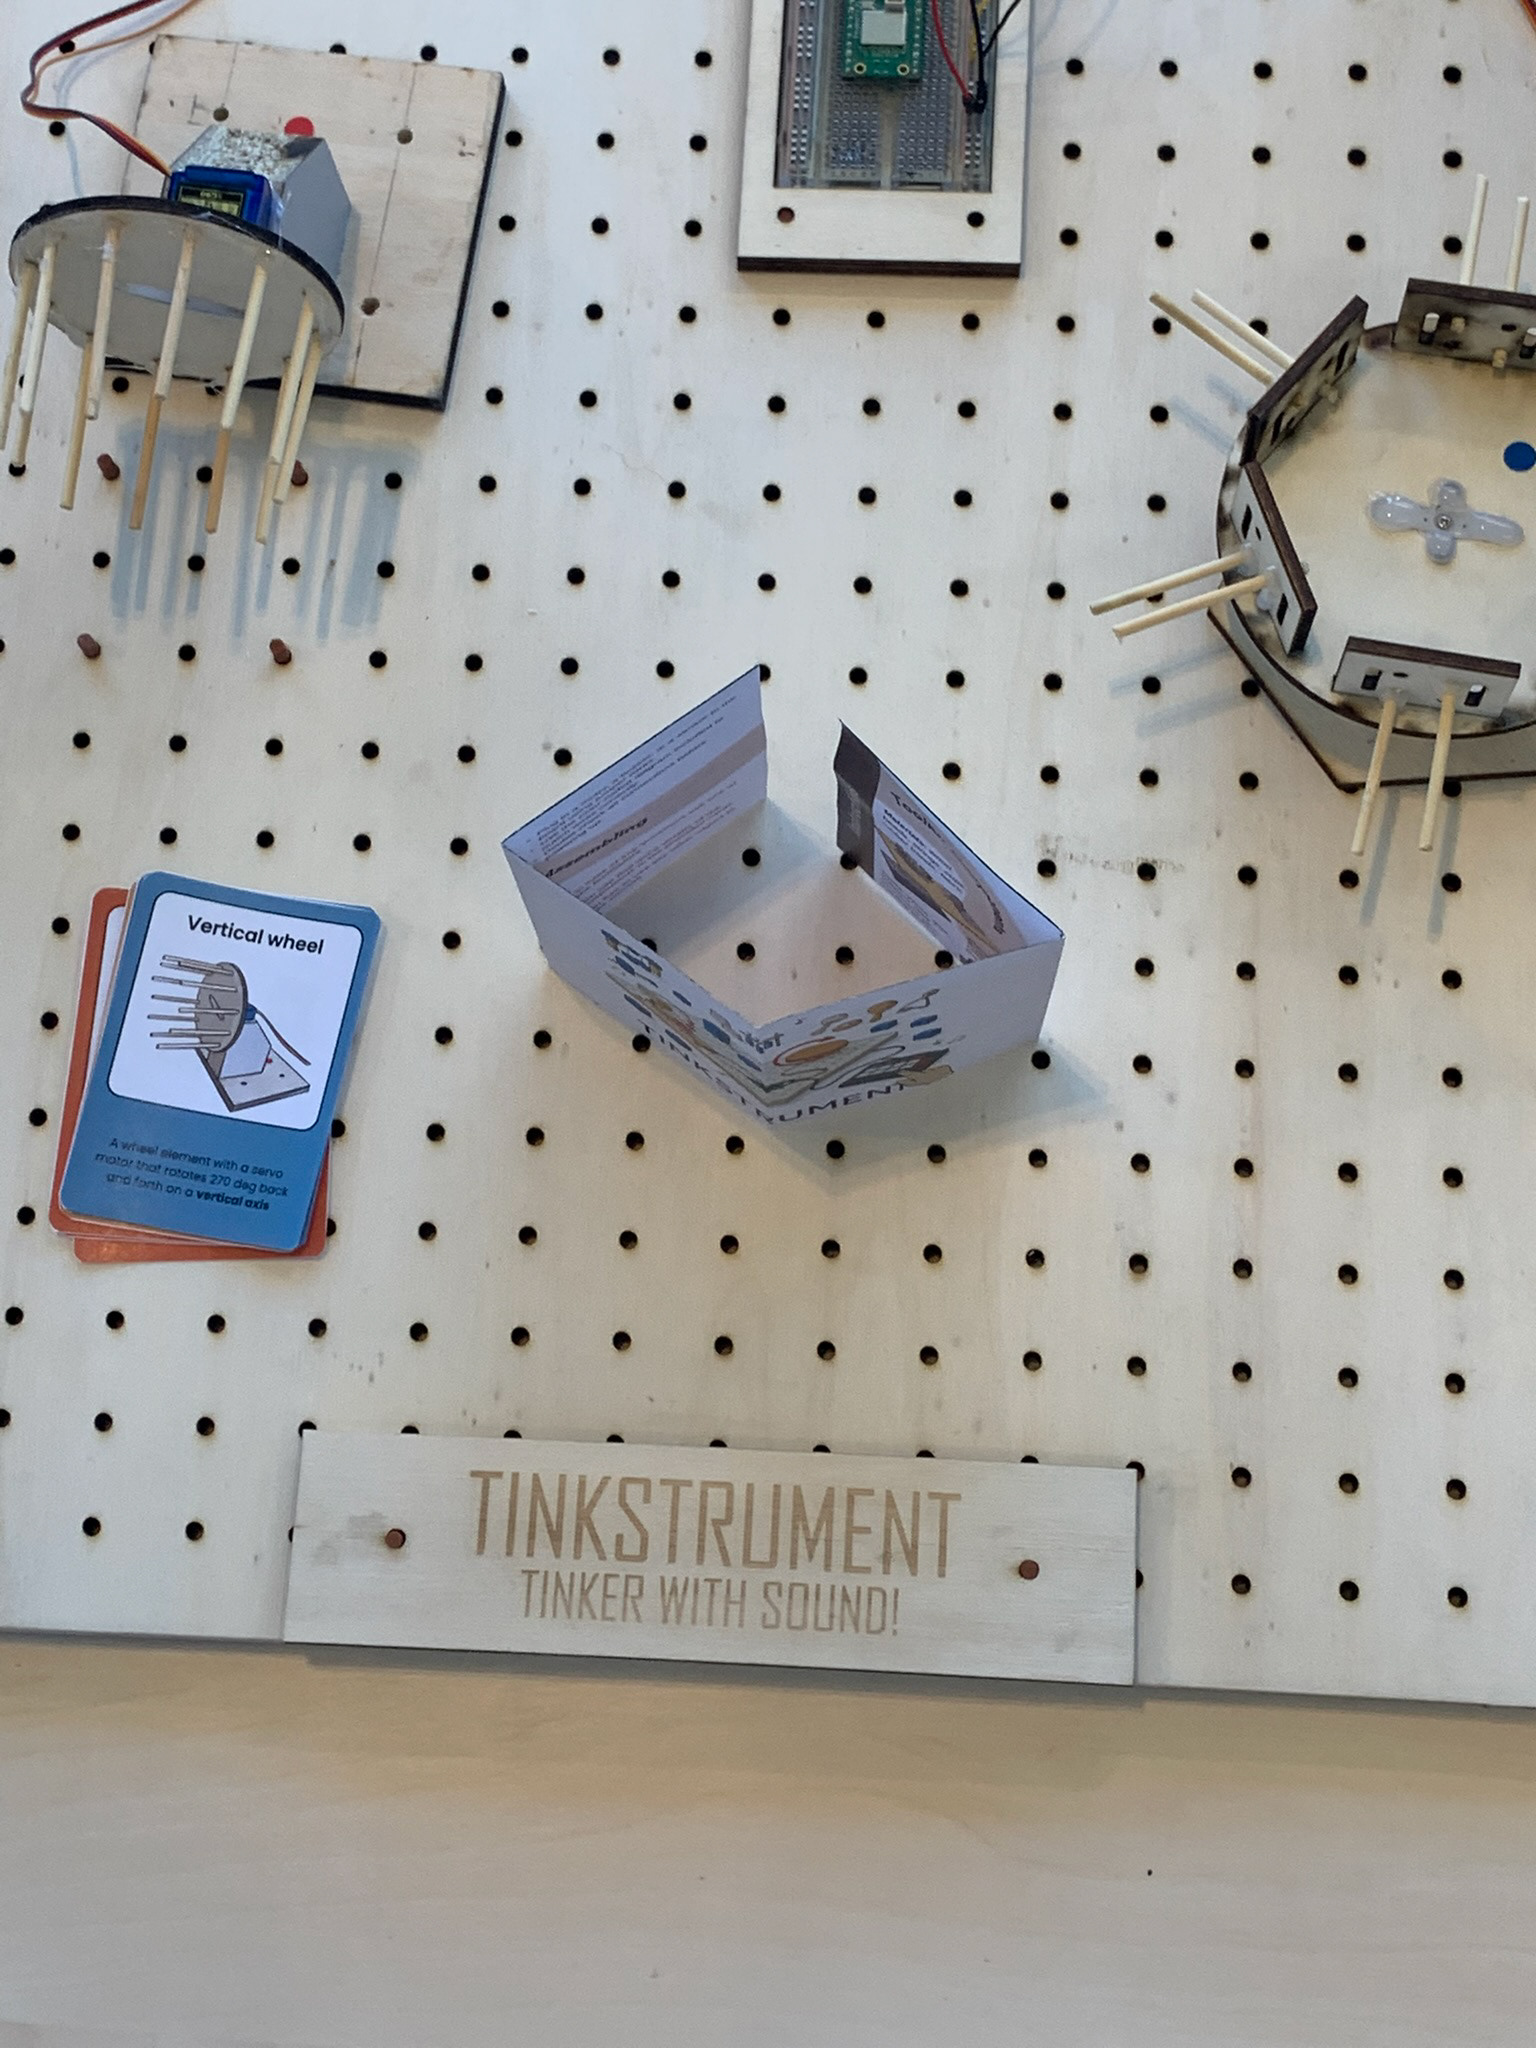
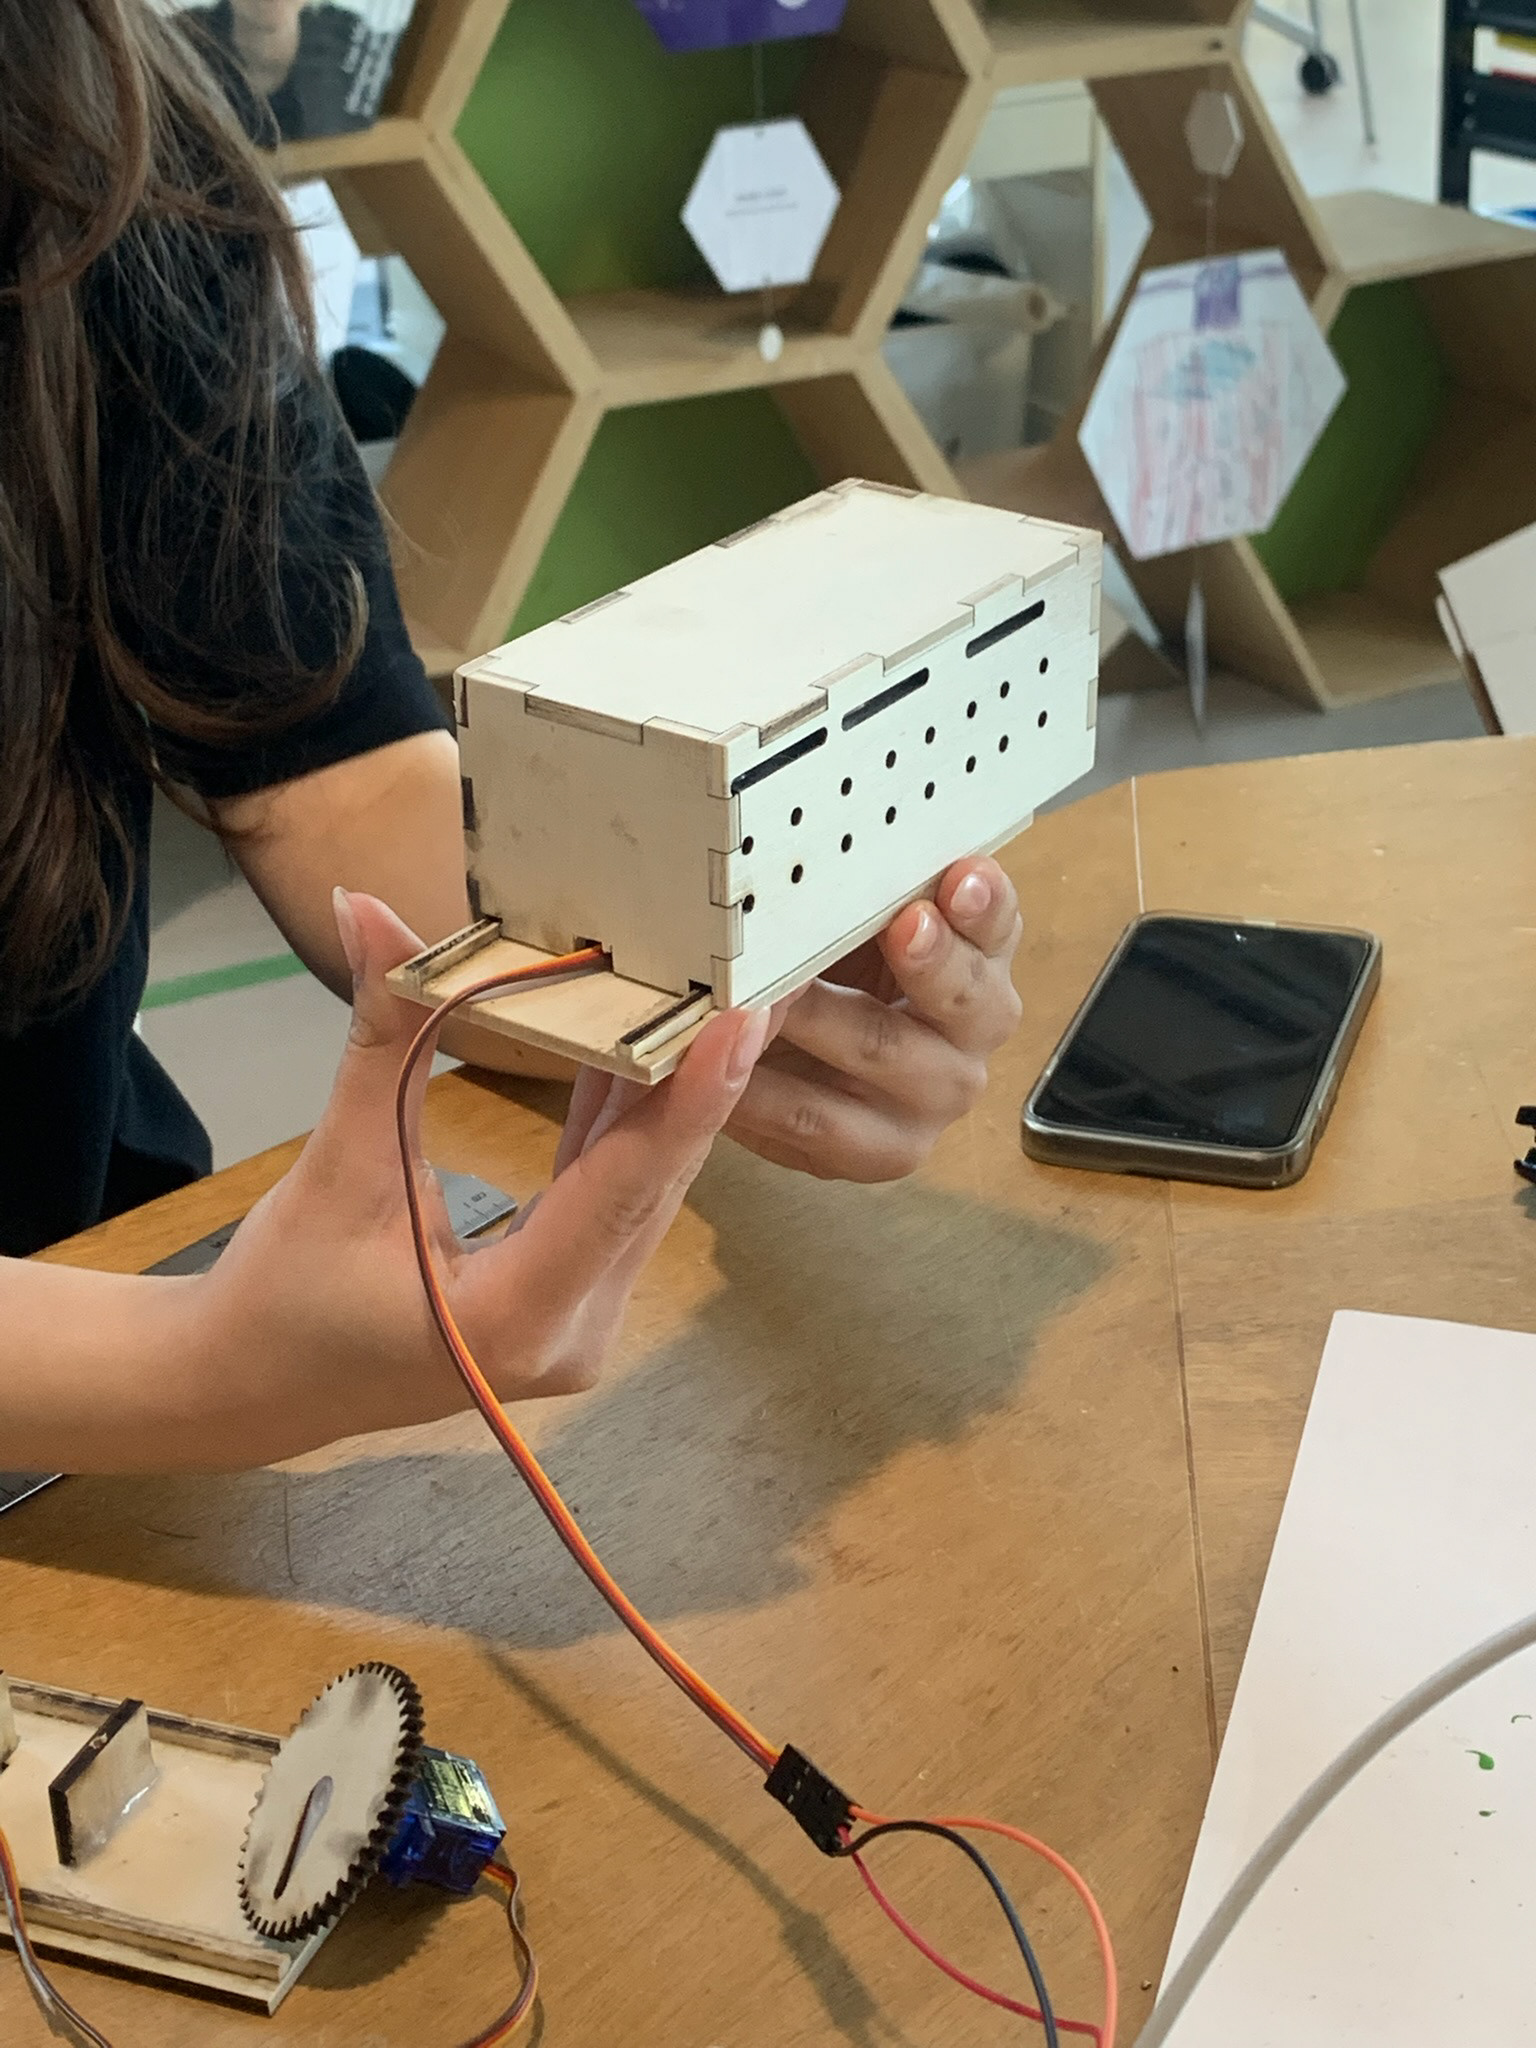
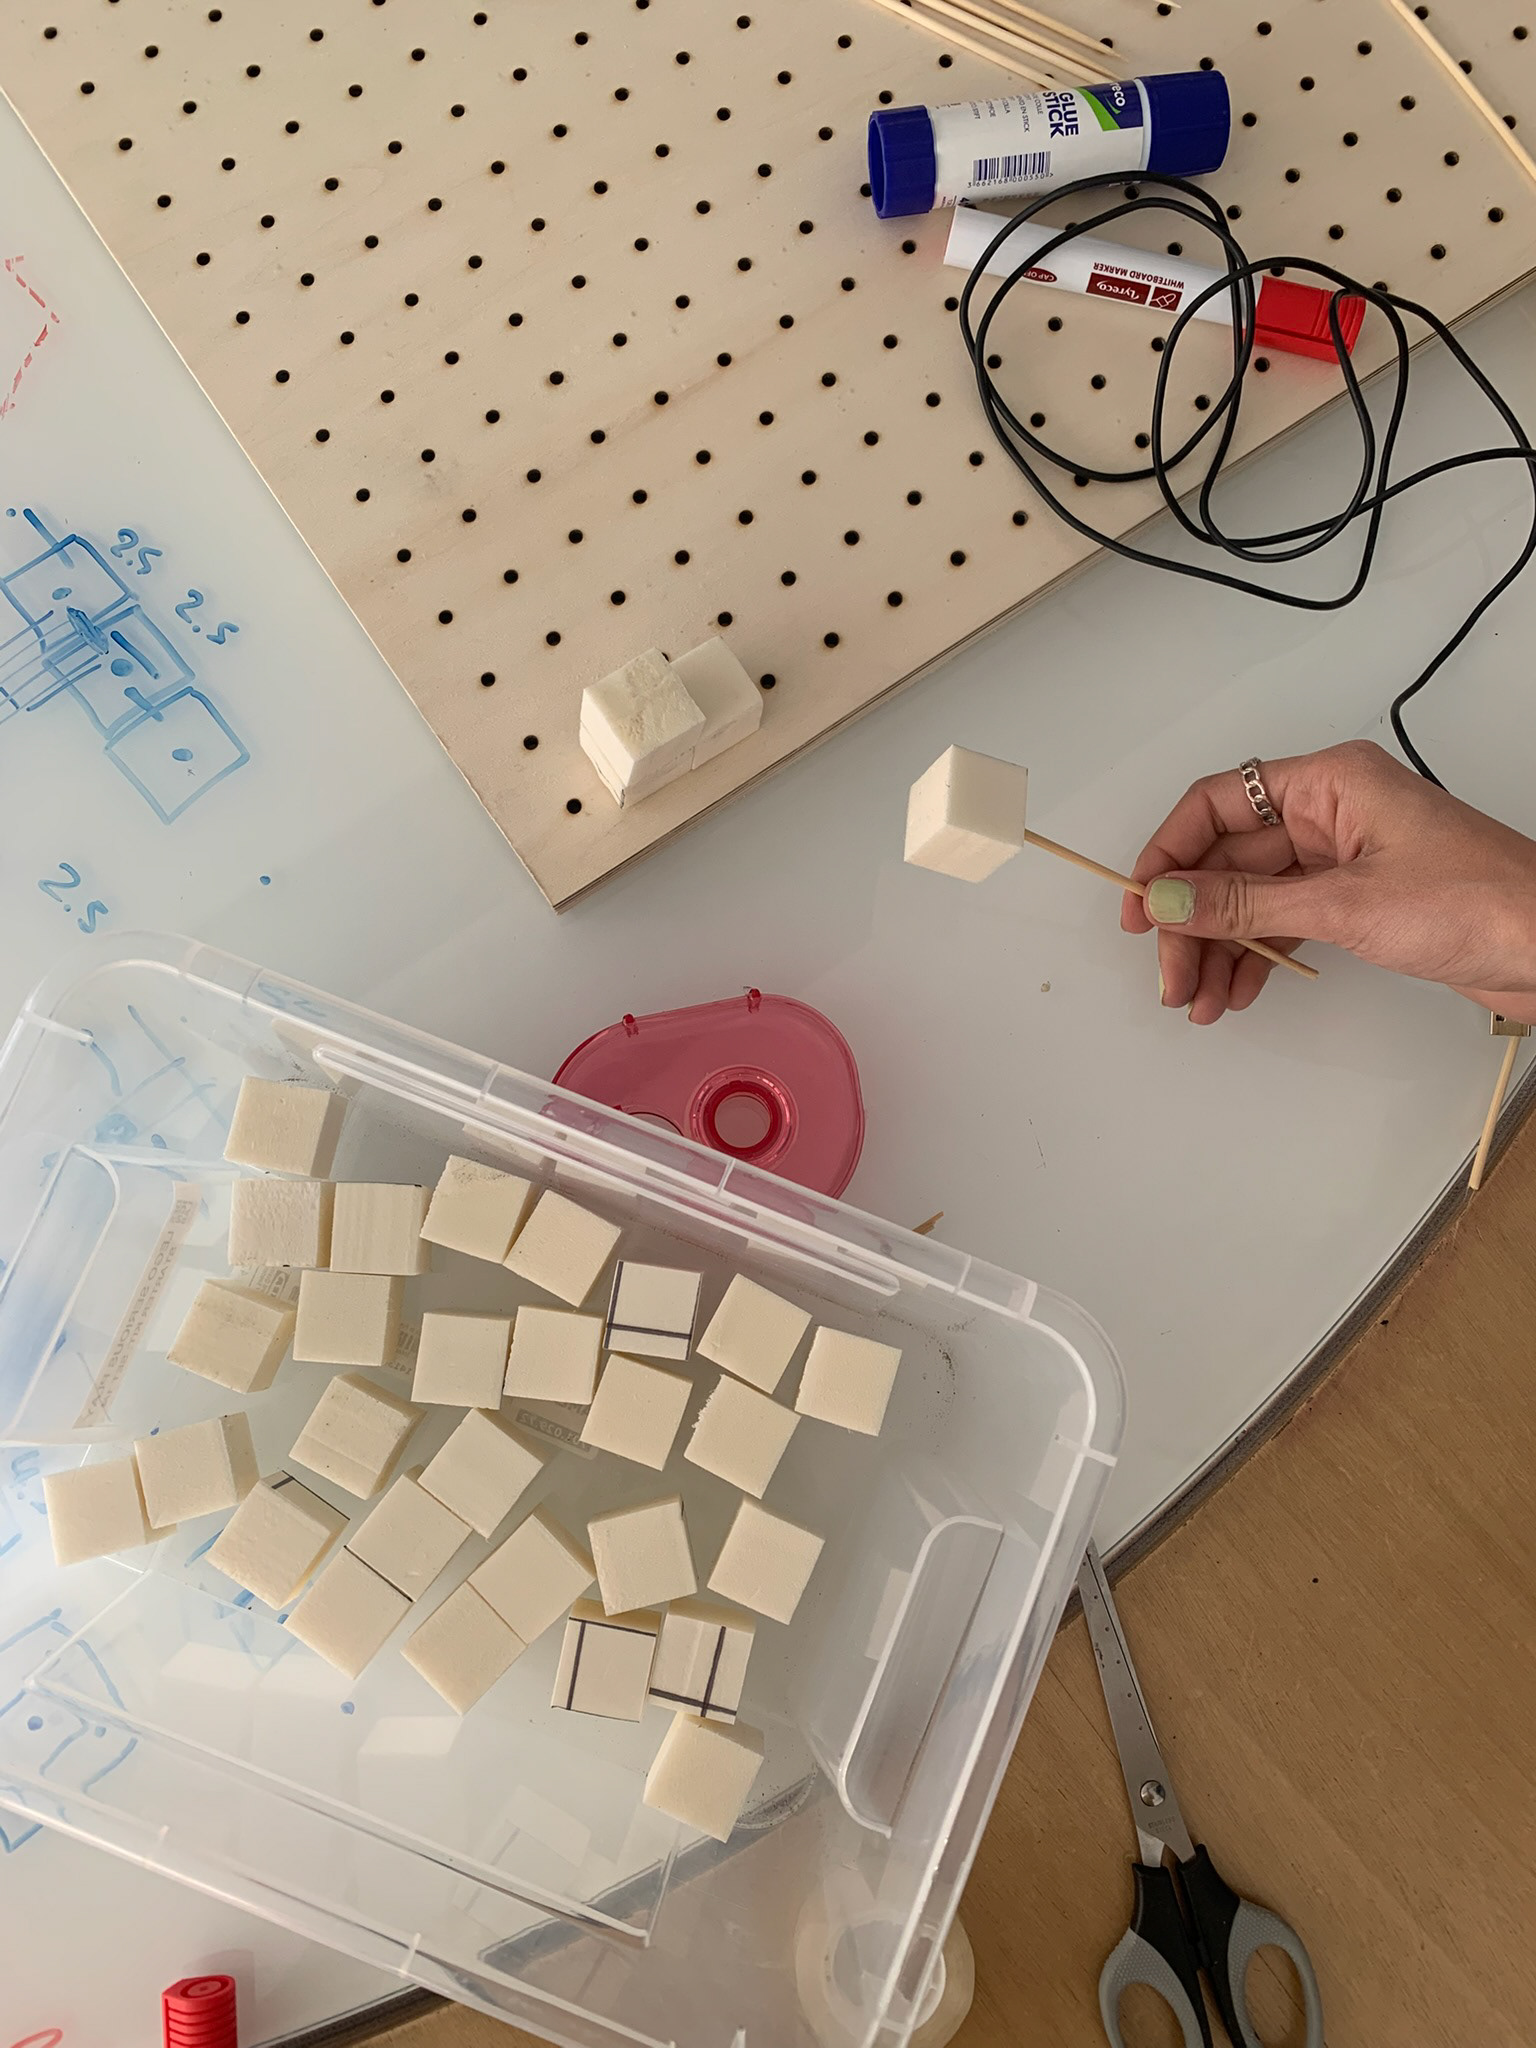
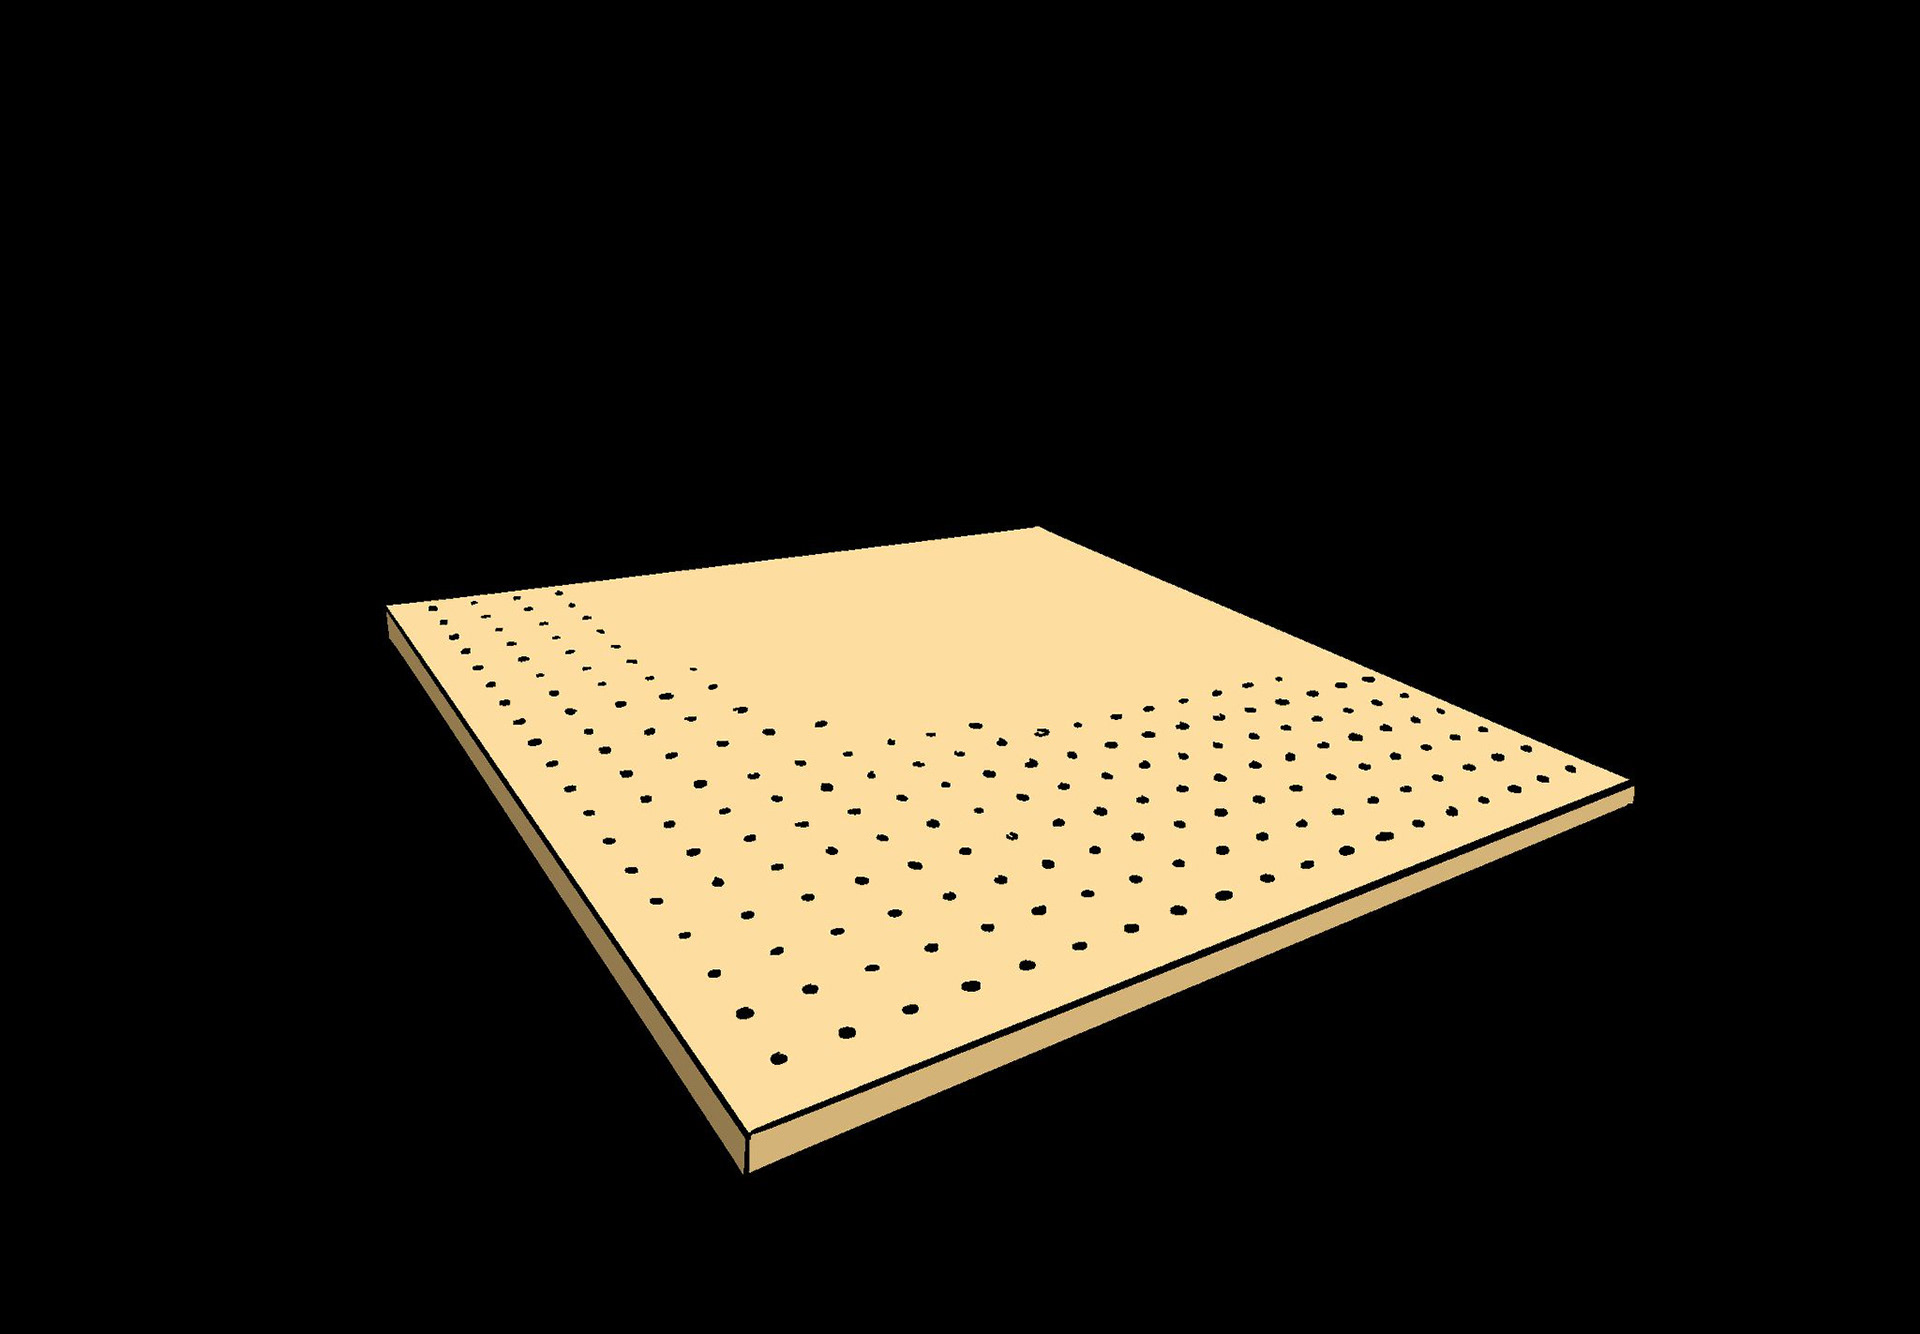
Also, we decided to make a board with pinholes to build the instrument on top of. It had become frustrating by this point that any time the actuator was activated, it would move, meaning that sounds couldn't be recreated easily. Using pins, both actuators and other materials could be held in place, allowing for more consistent "music".
Below are some of the progress pictures.
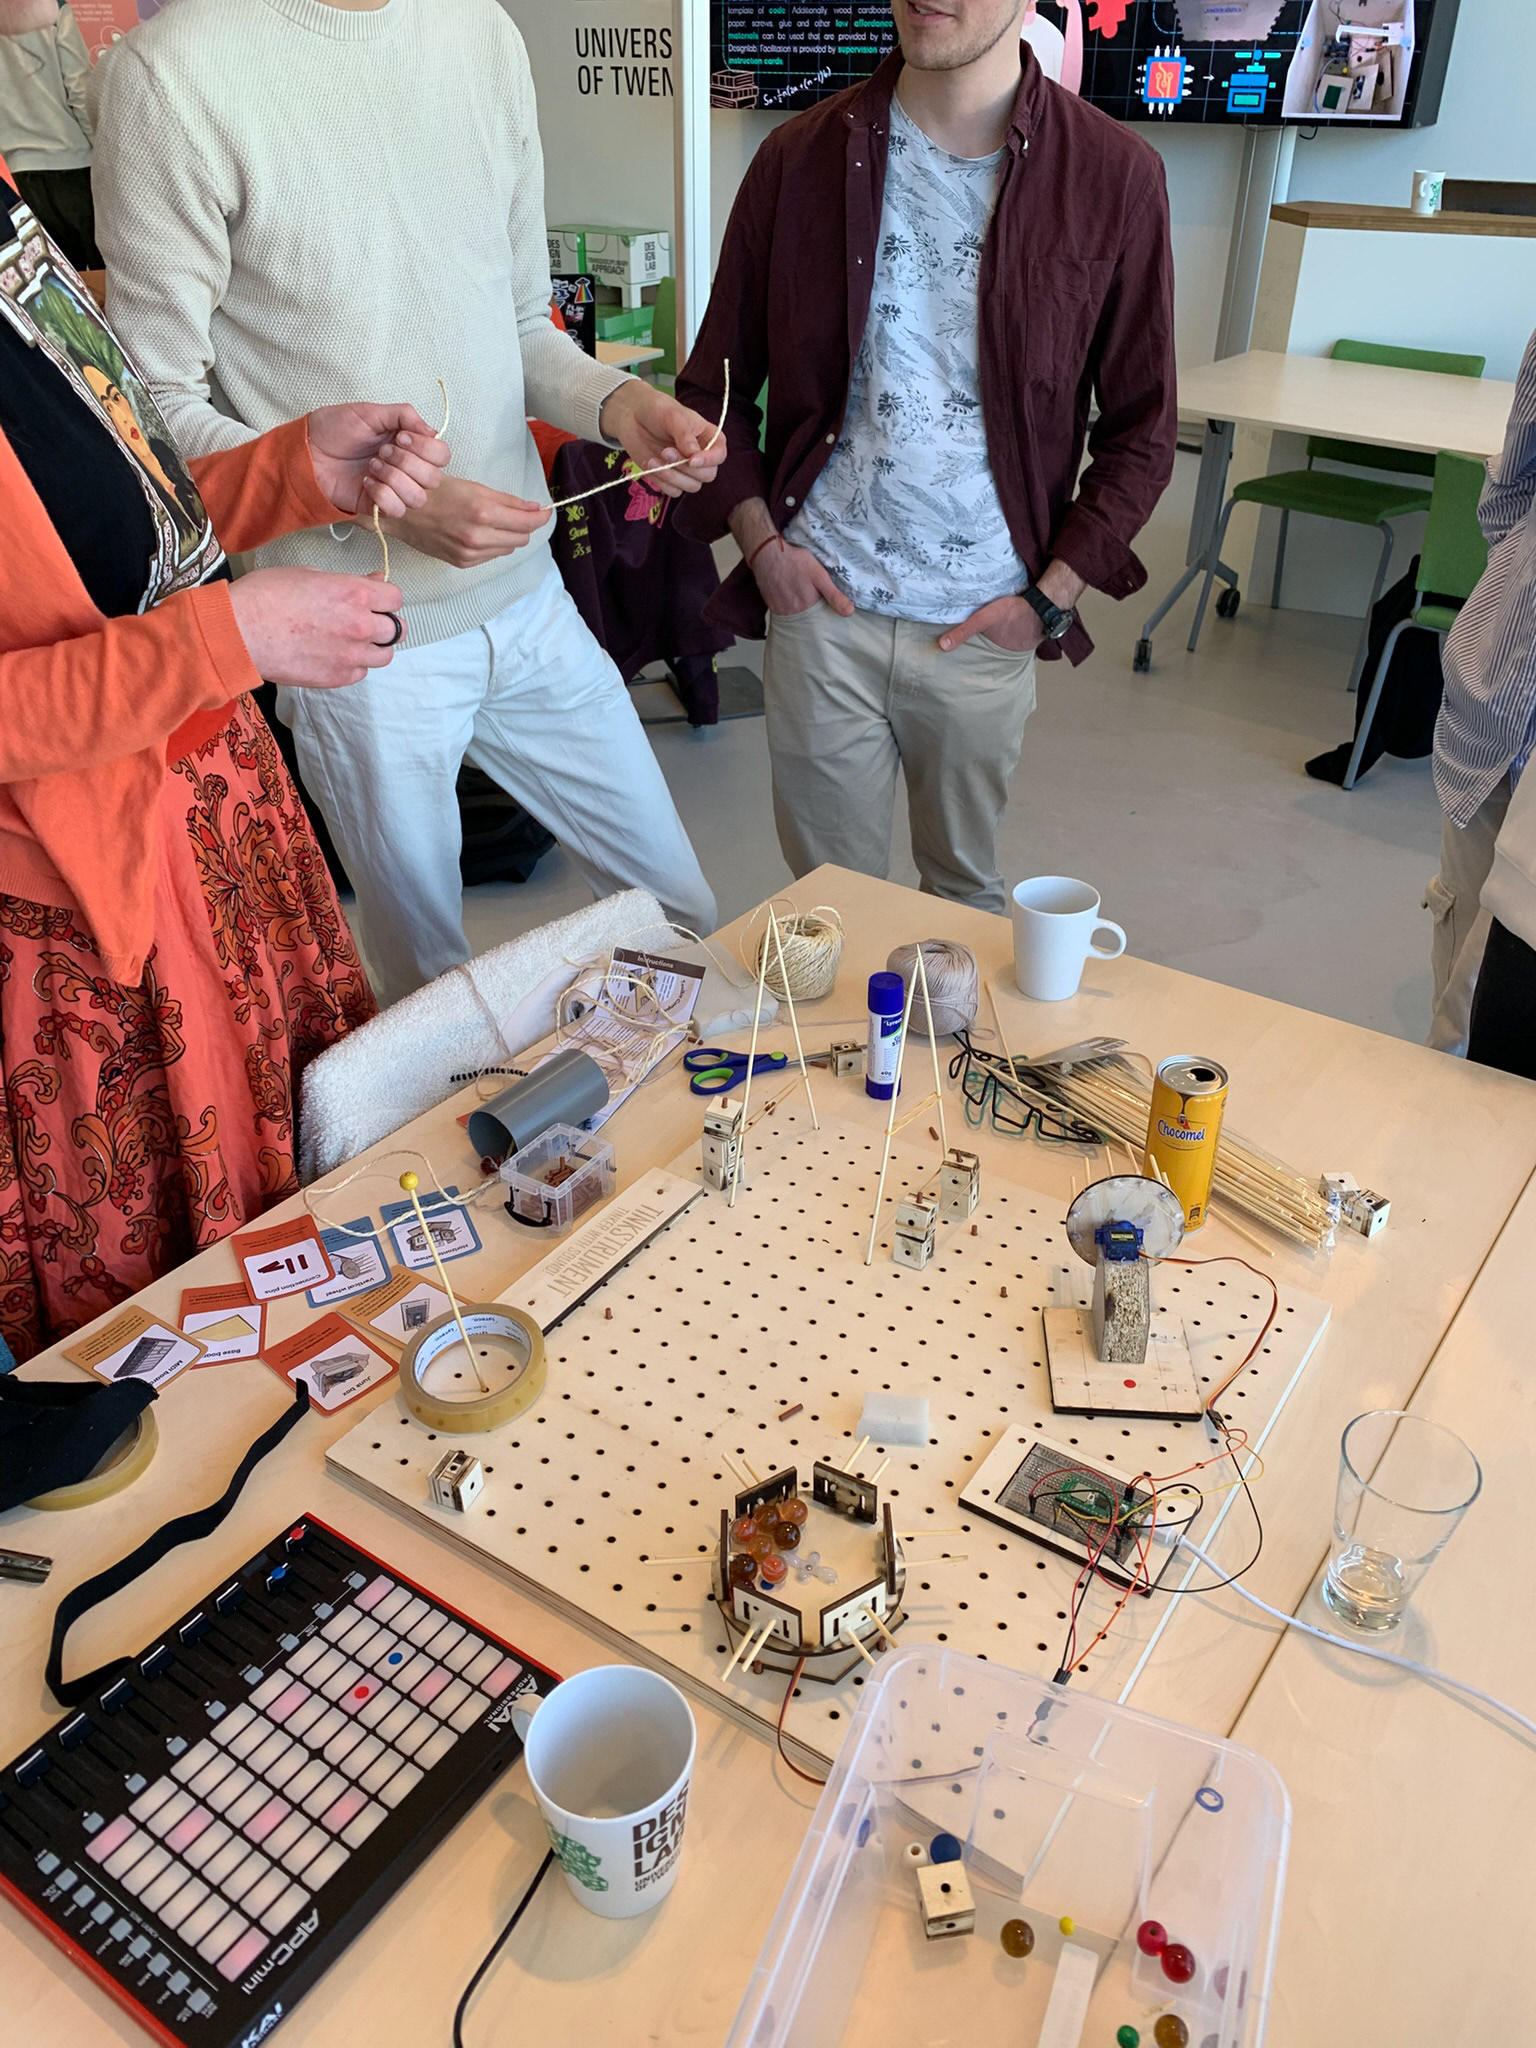
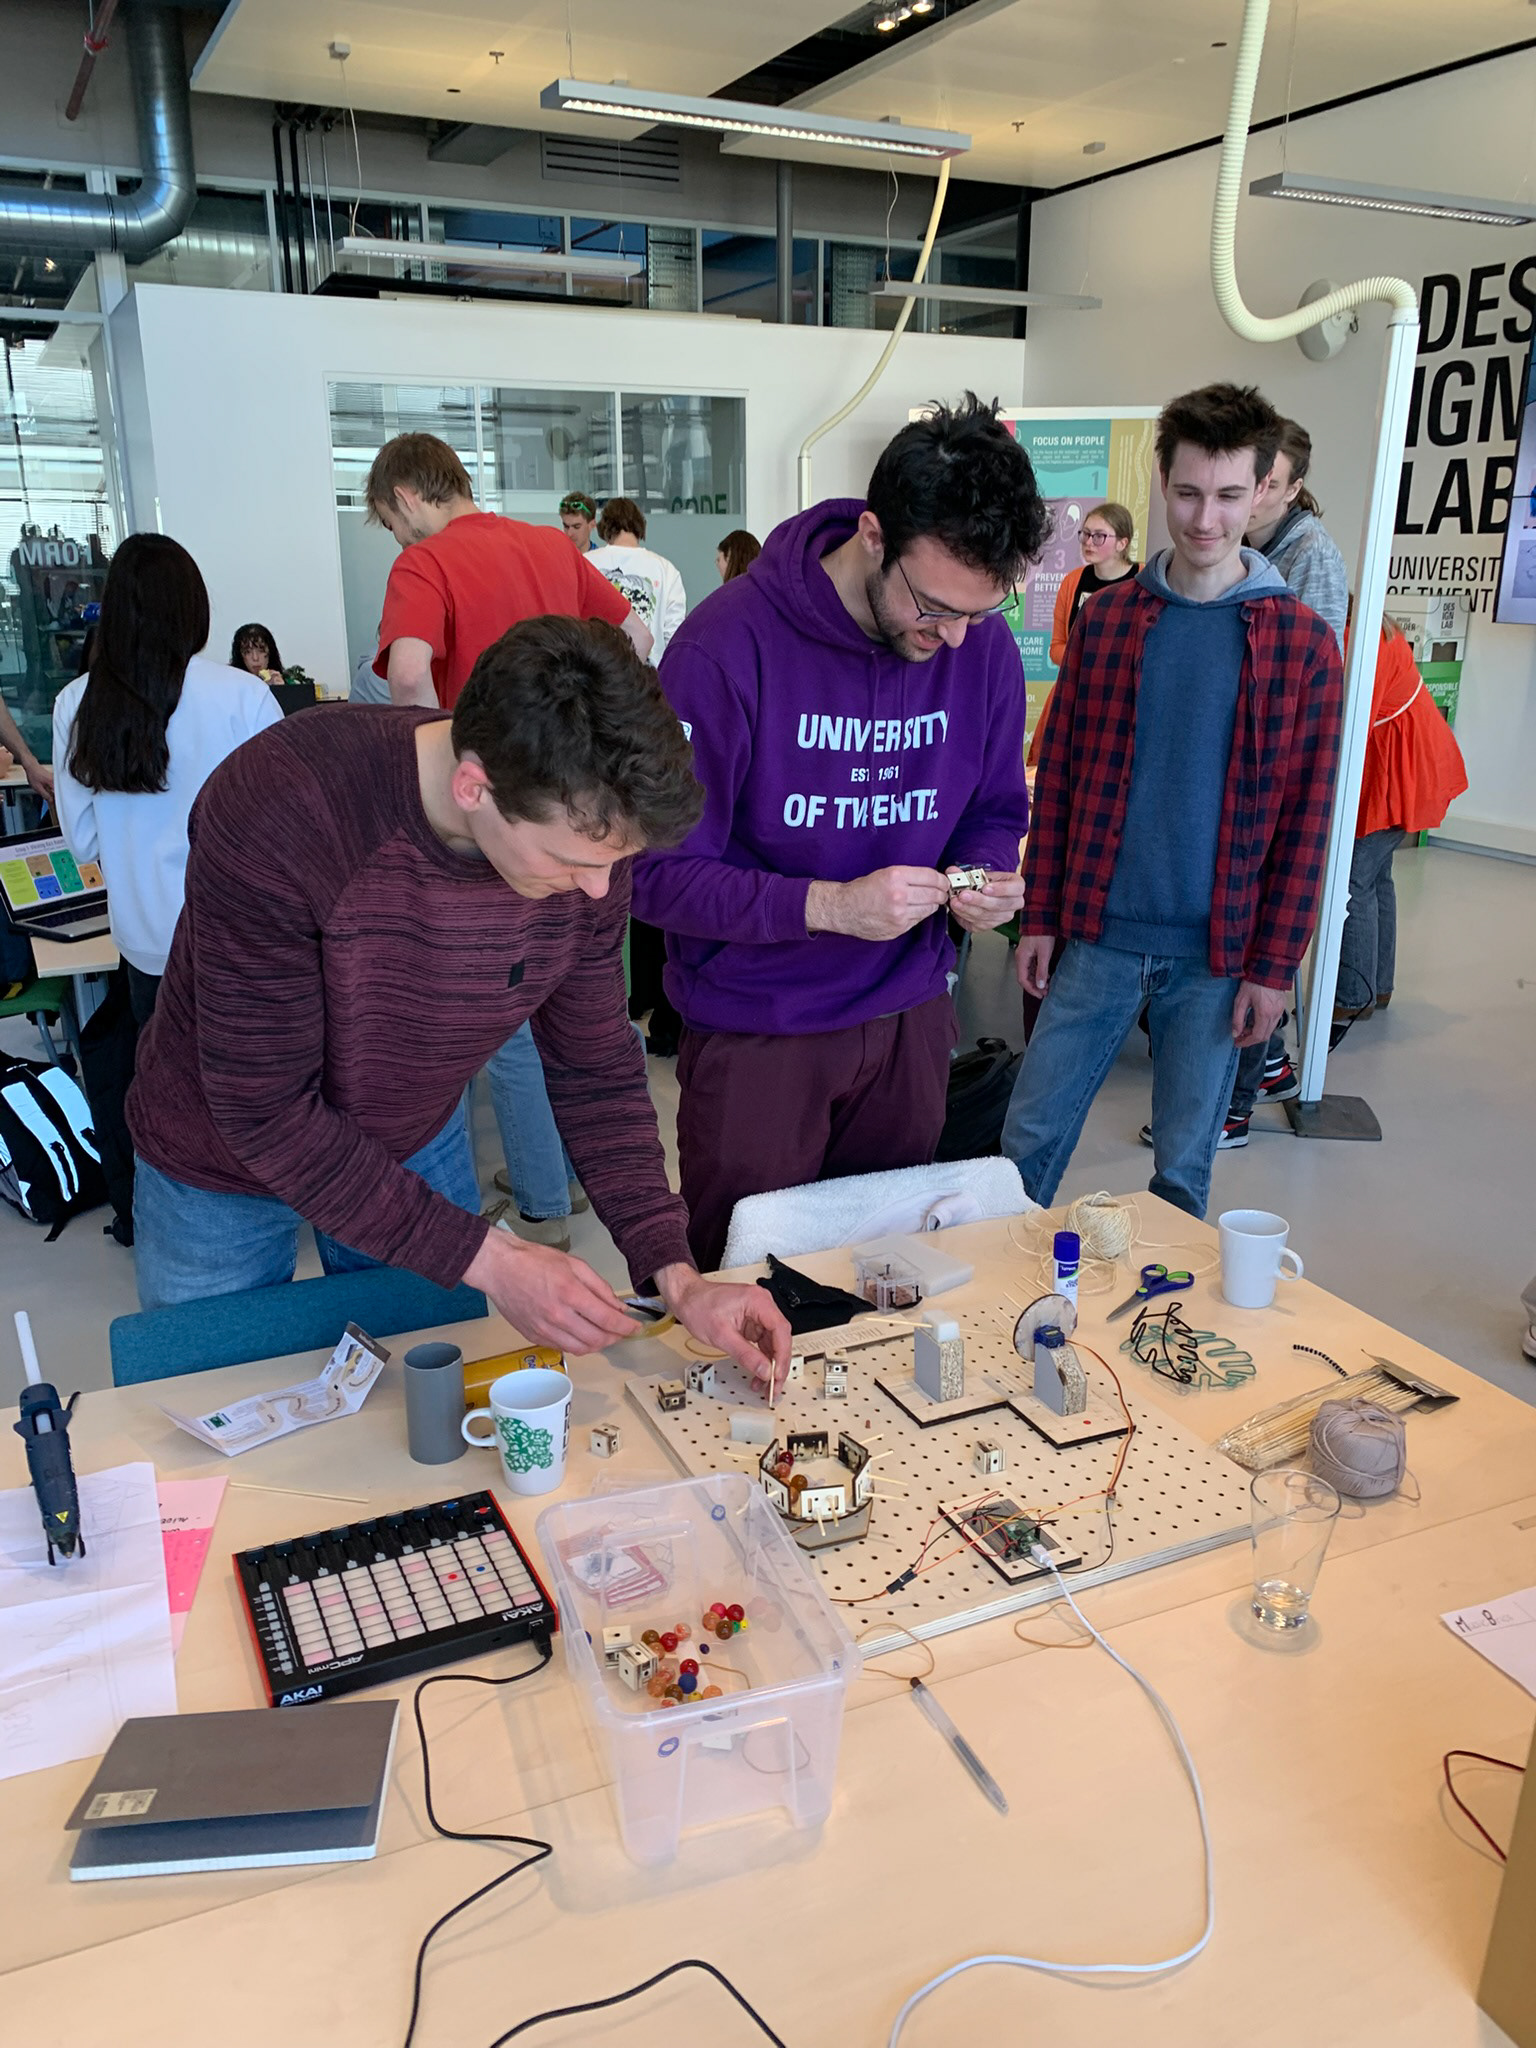
After another feedback session, we felt like we were somewhat going in the right direction with the project. We continued to refine some of our concepts and had people around DesignLab try out our ideas. This was a nice way to get some new feedback. Although outcomes weren't very concrete, at least there seemed to be a little bit of 'funfactor' to our project, which motivated further effort.
First evaluation
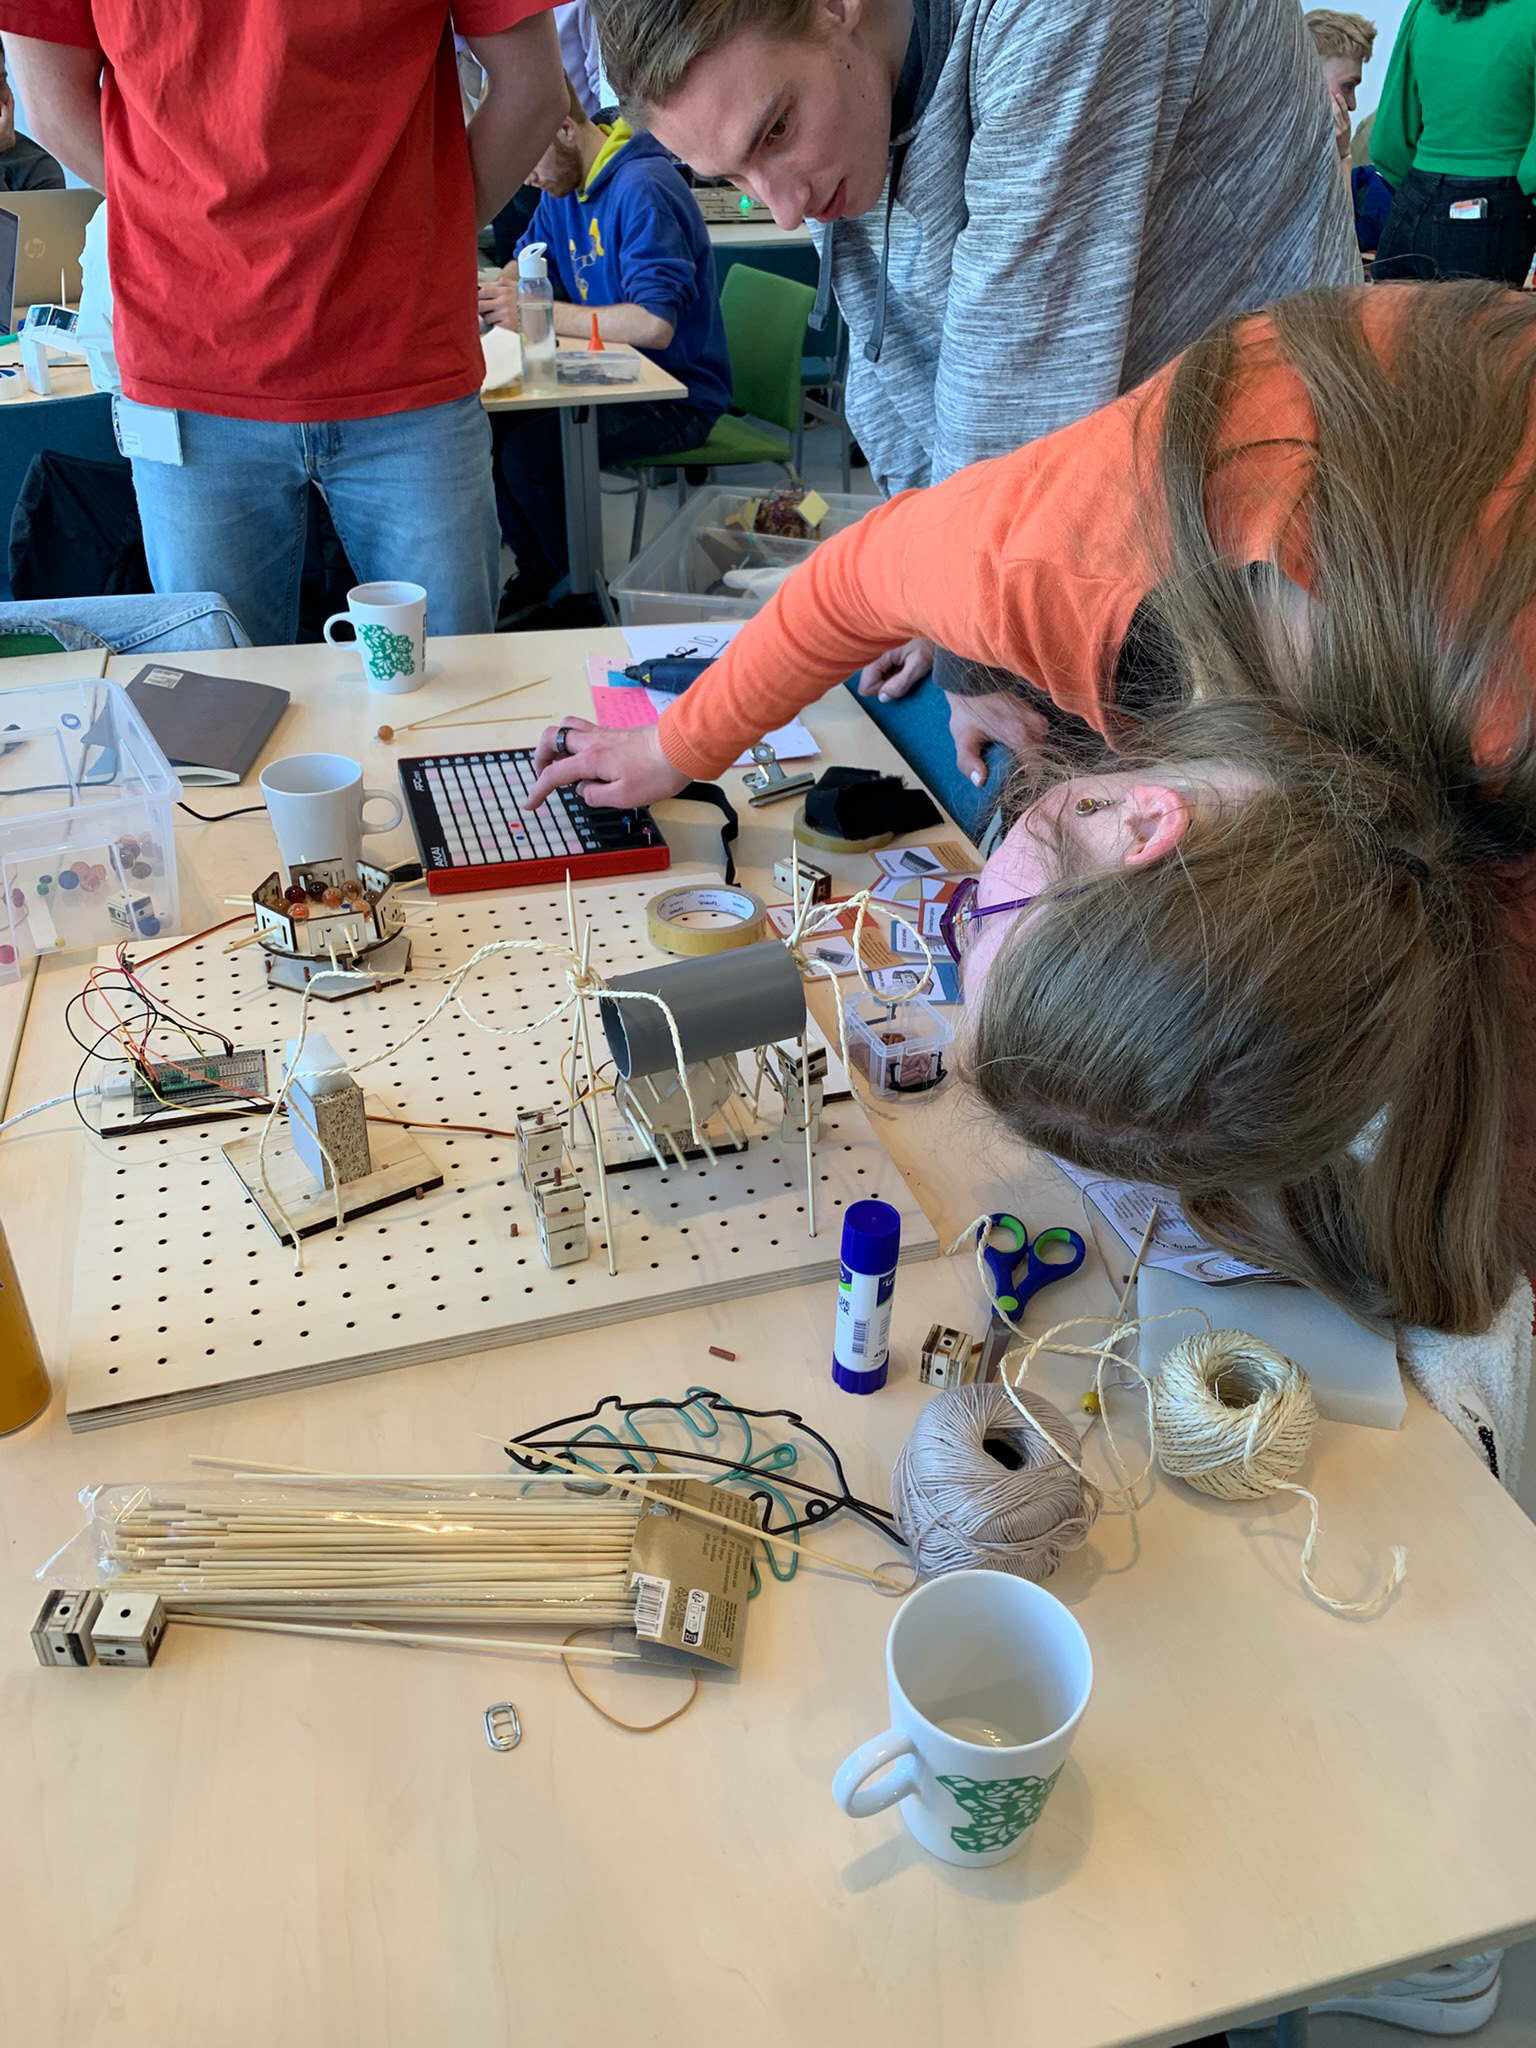
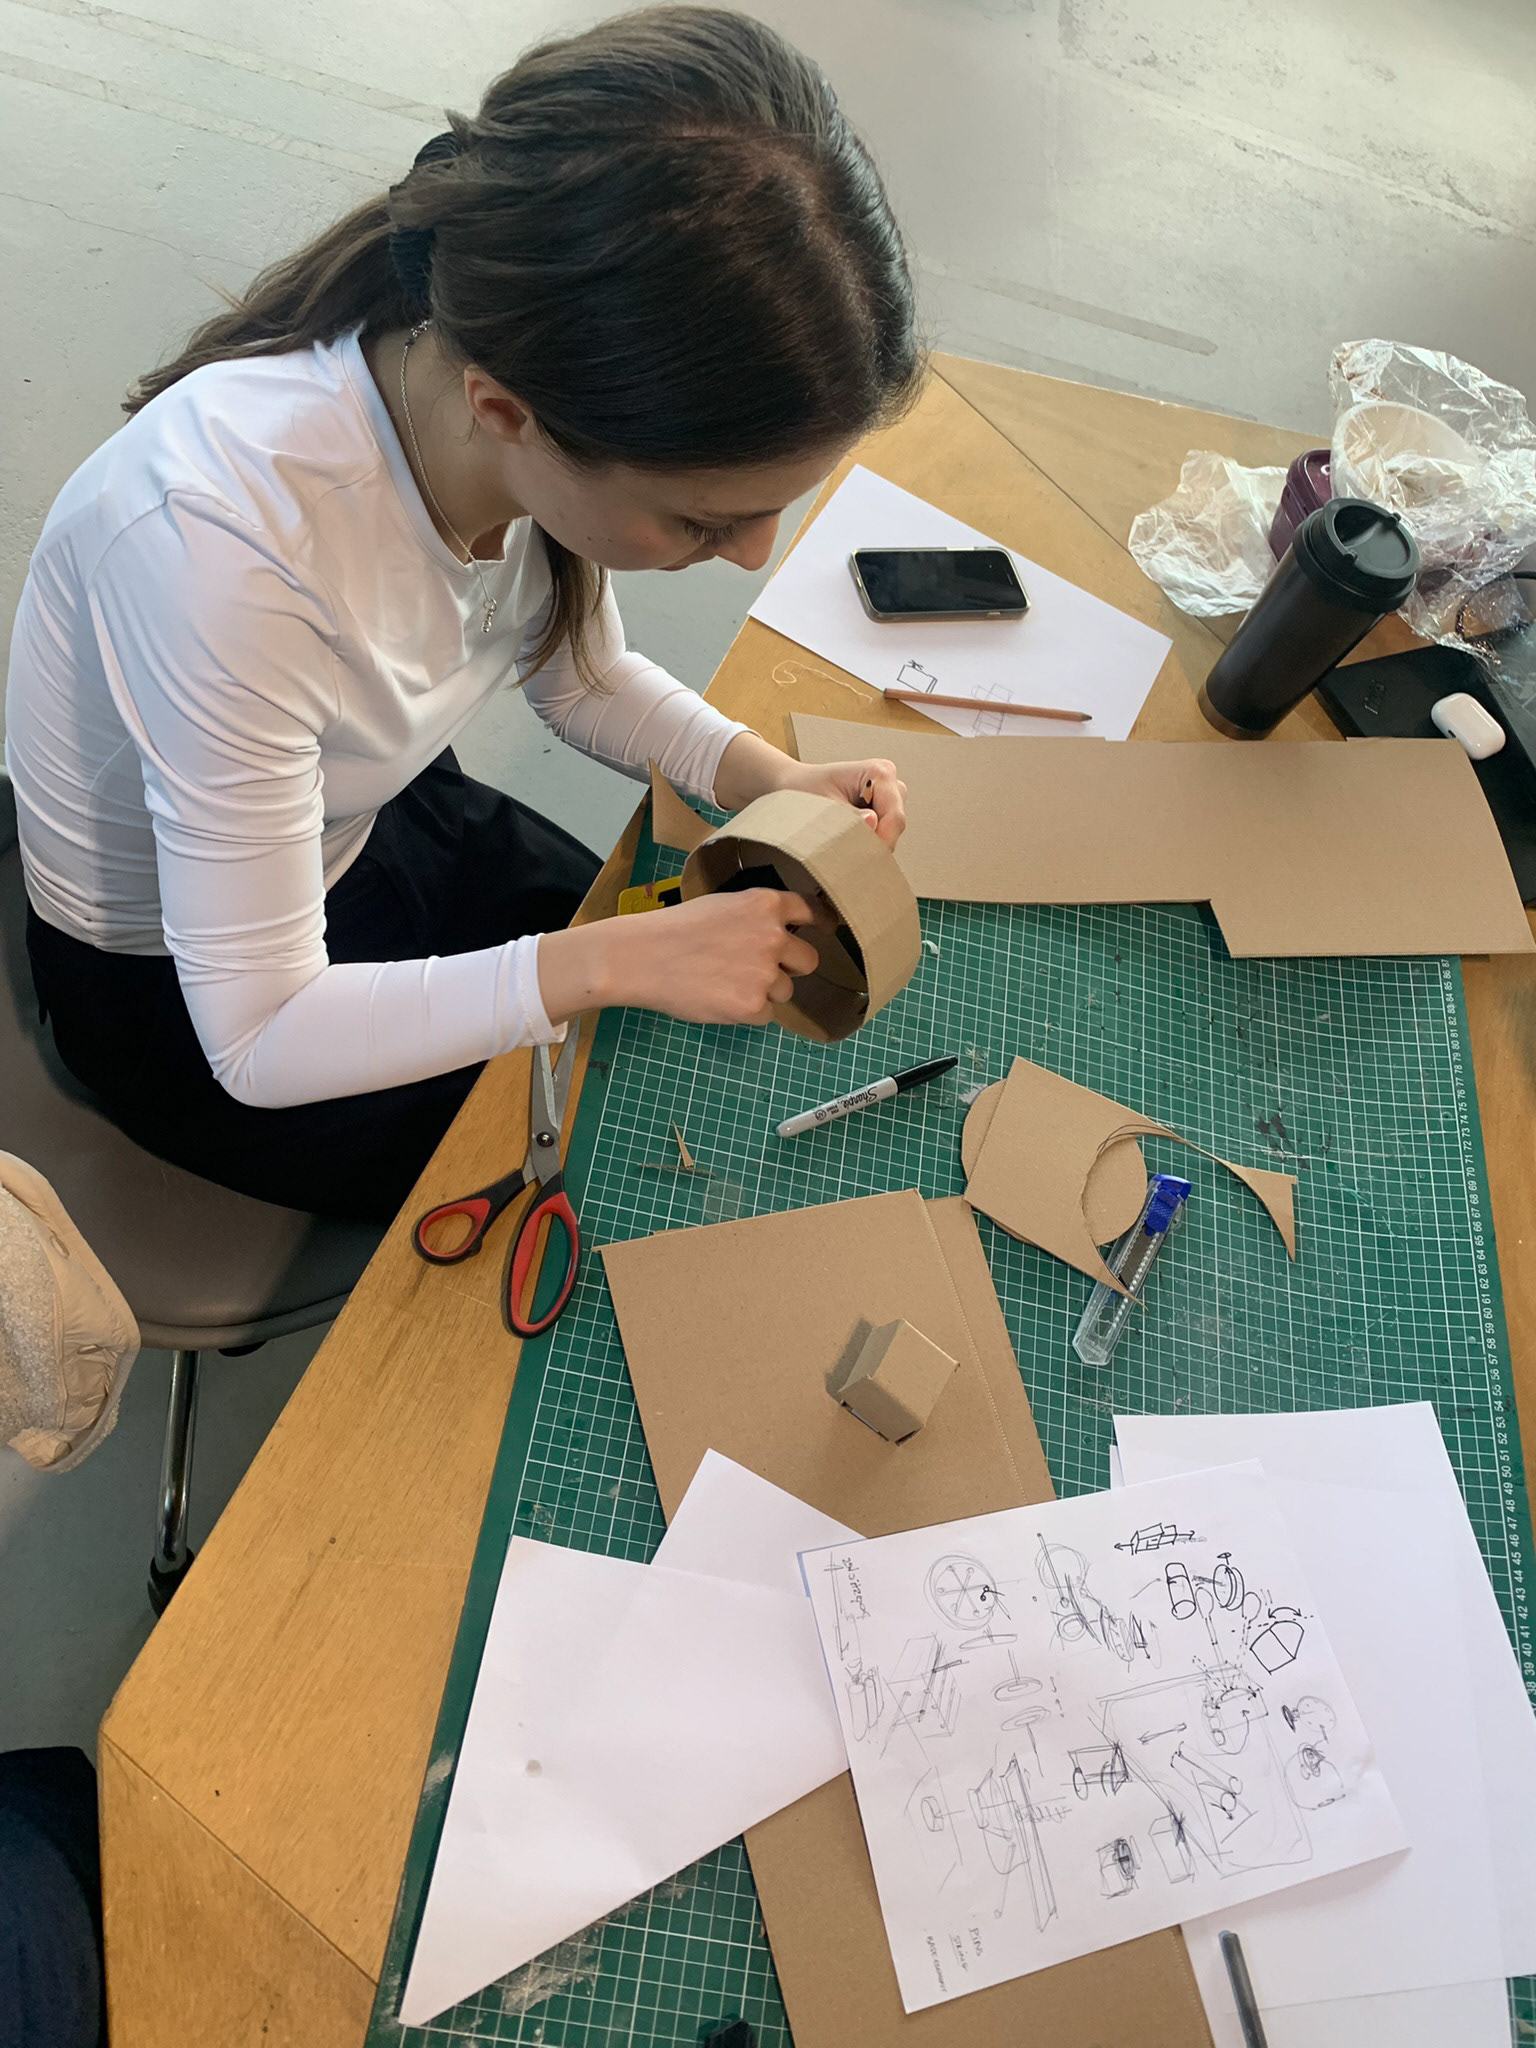
Some of our own tinkering in action
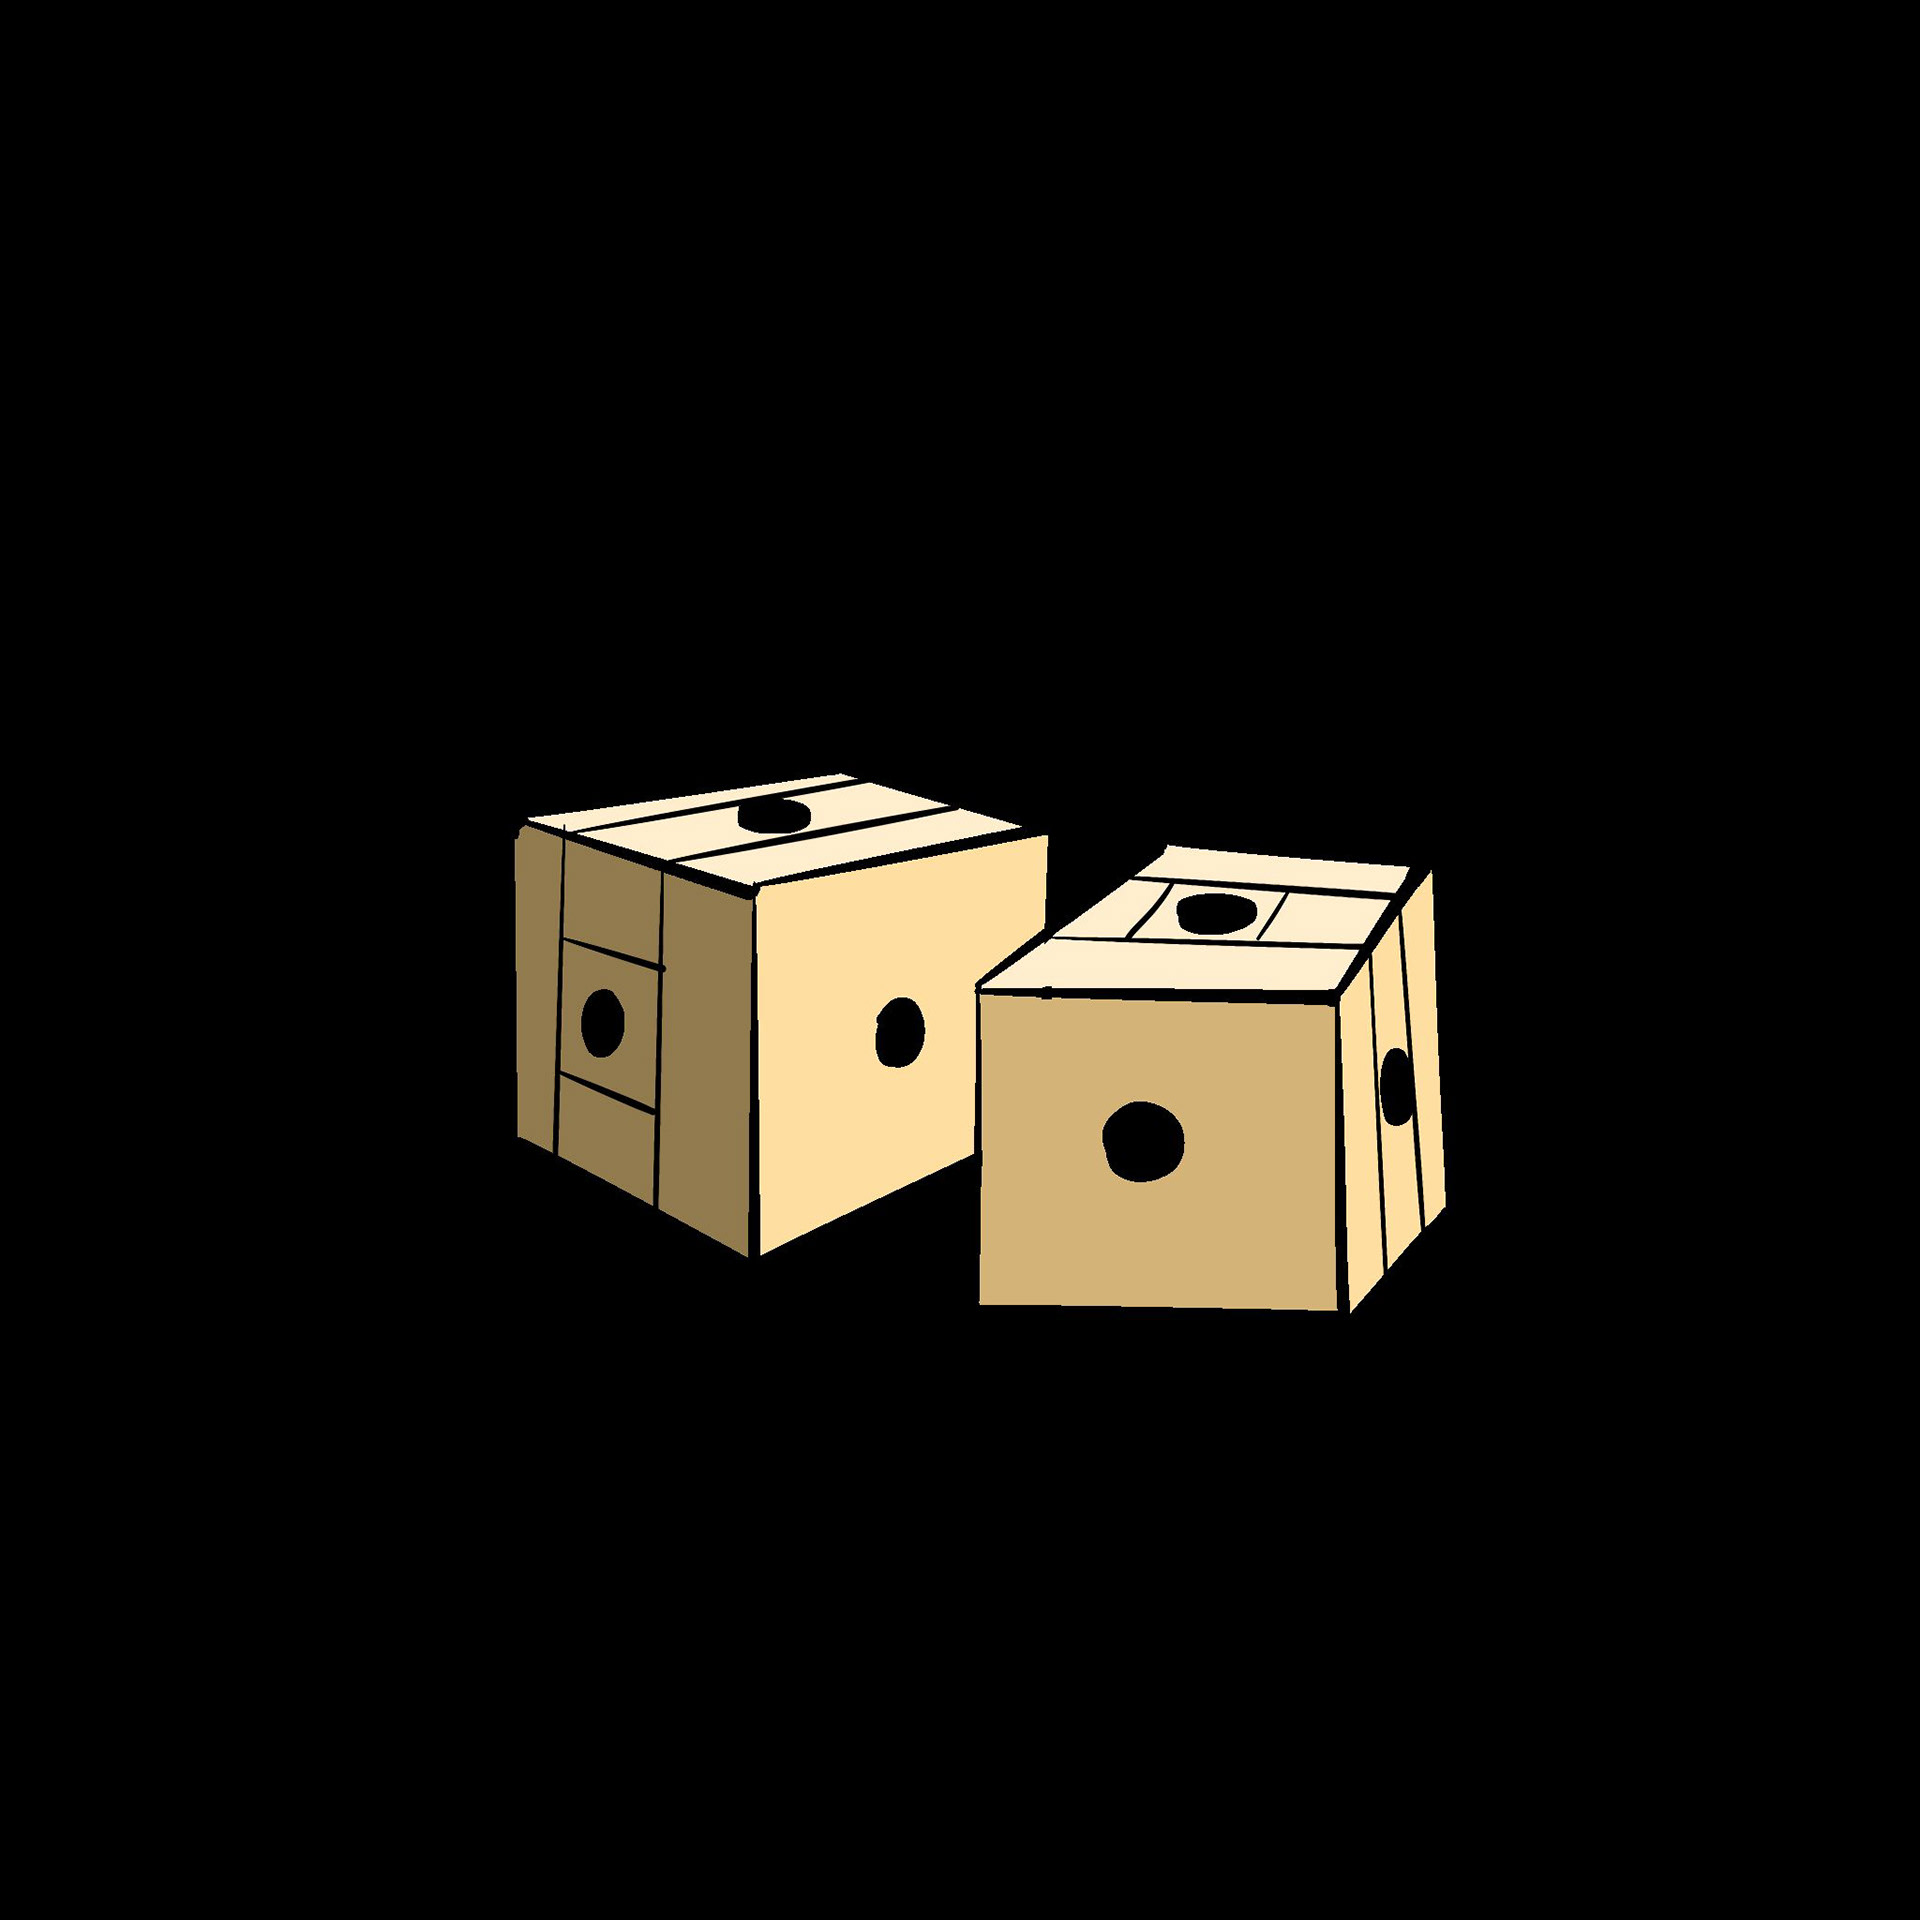
Below are the main components of the kit that we came up with in the end. Only the pins and the Raspberry Pi Pico are not visualised.
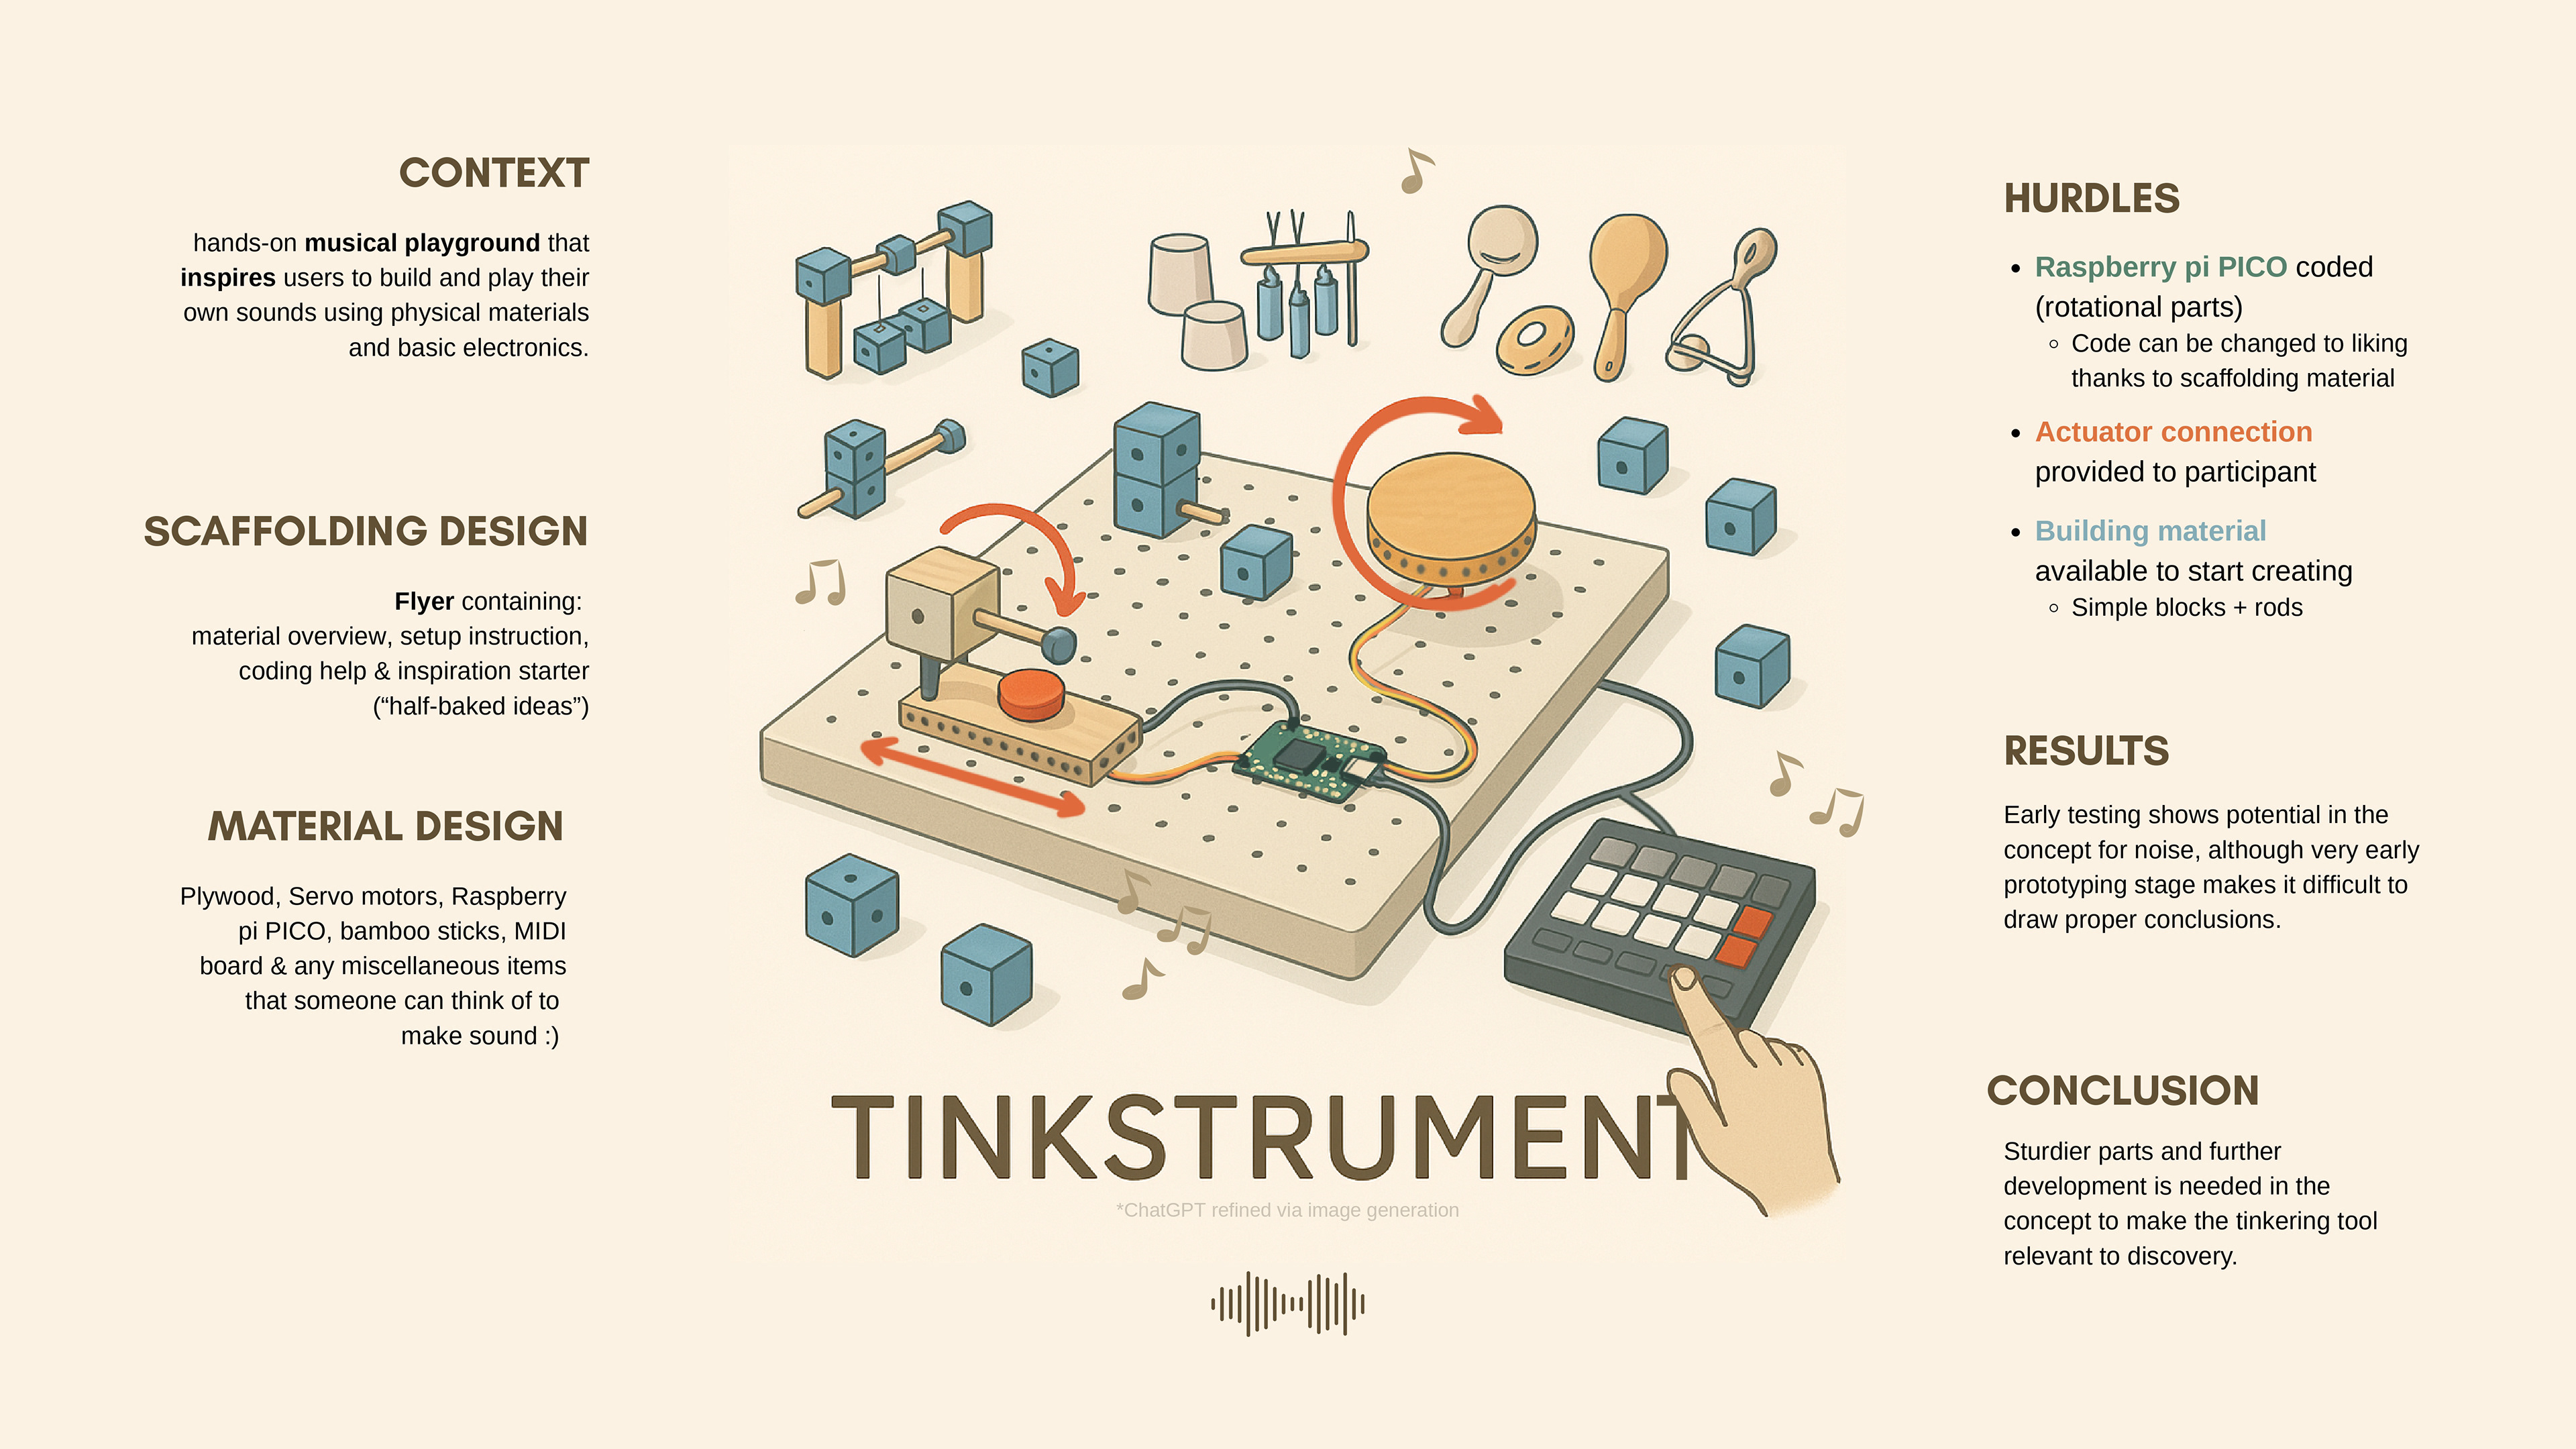
The final poster
Aaaaand, the pictures of the demo session!